Space Game Update #3 – Water & Improved Texturing

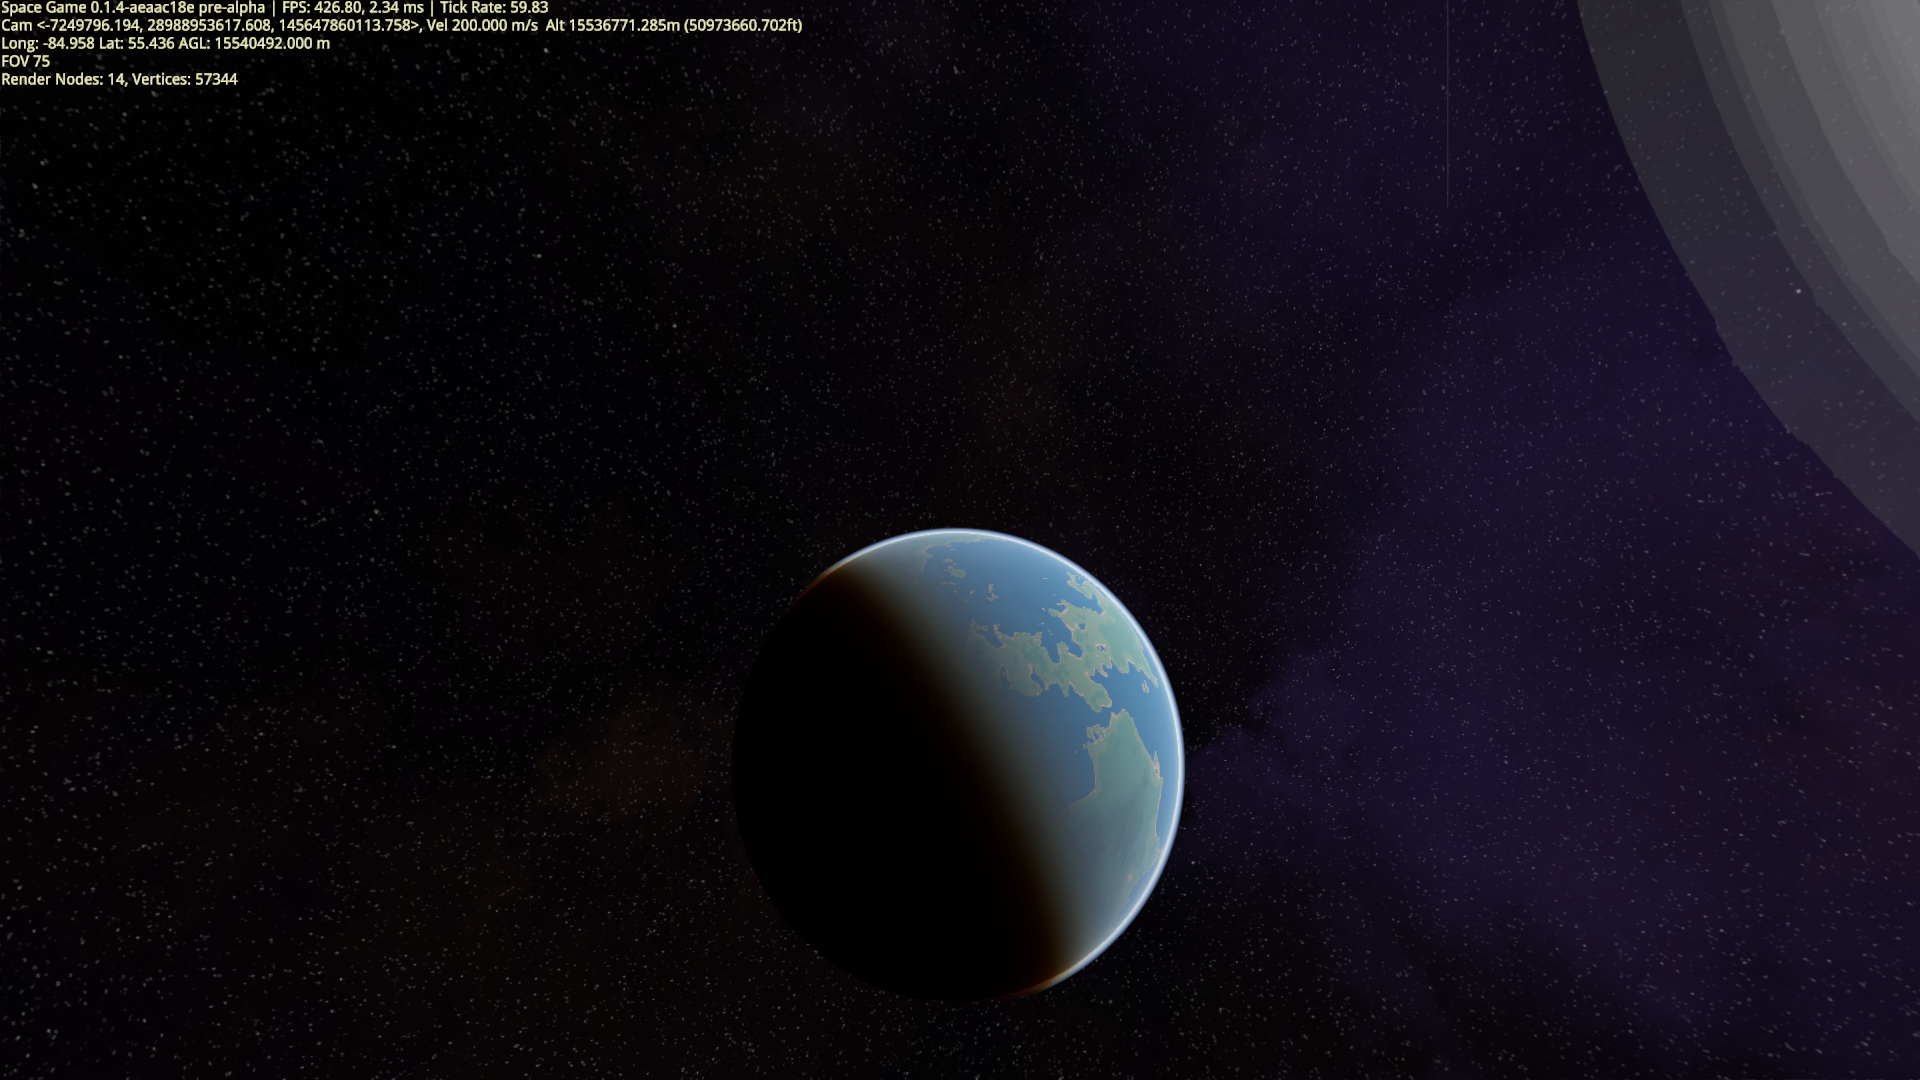
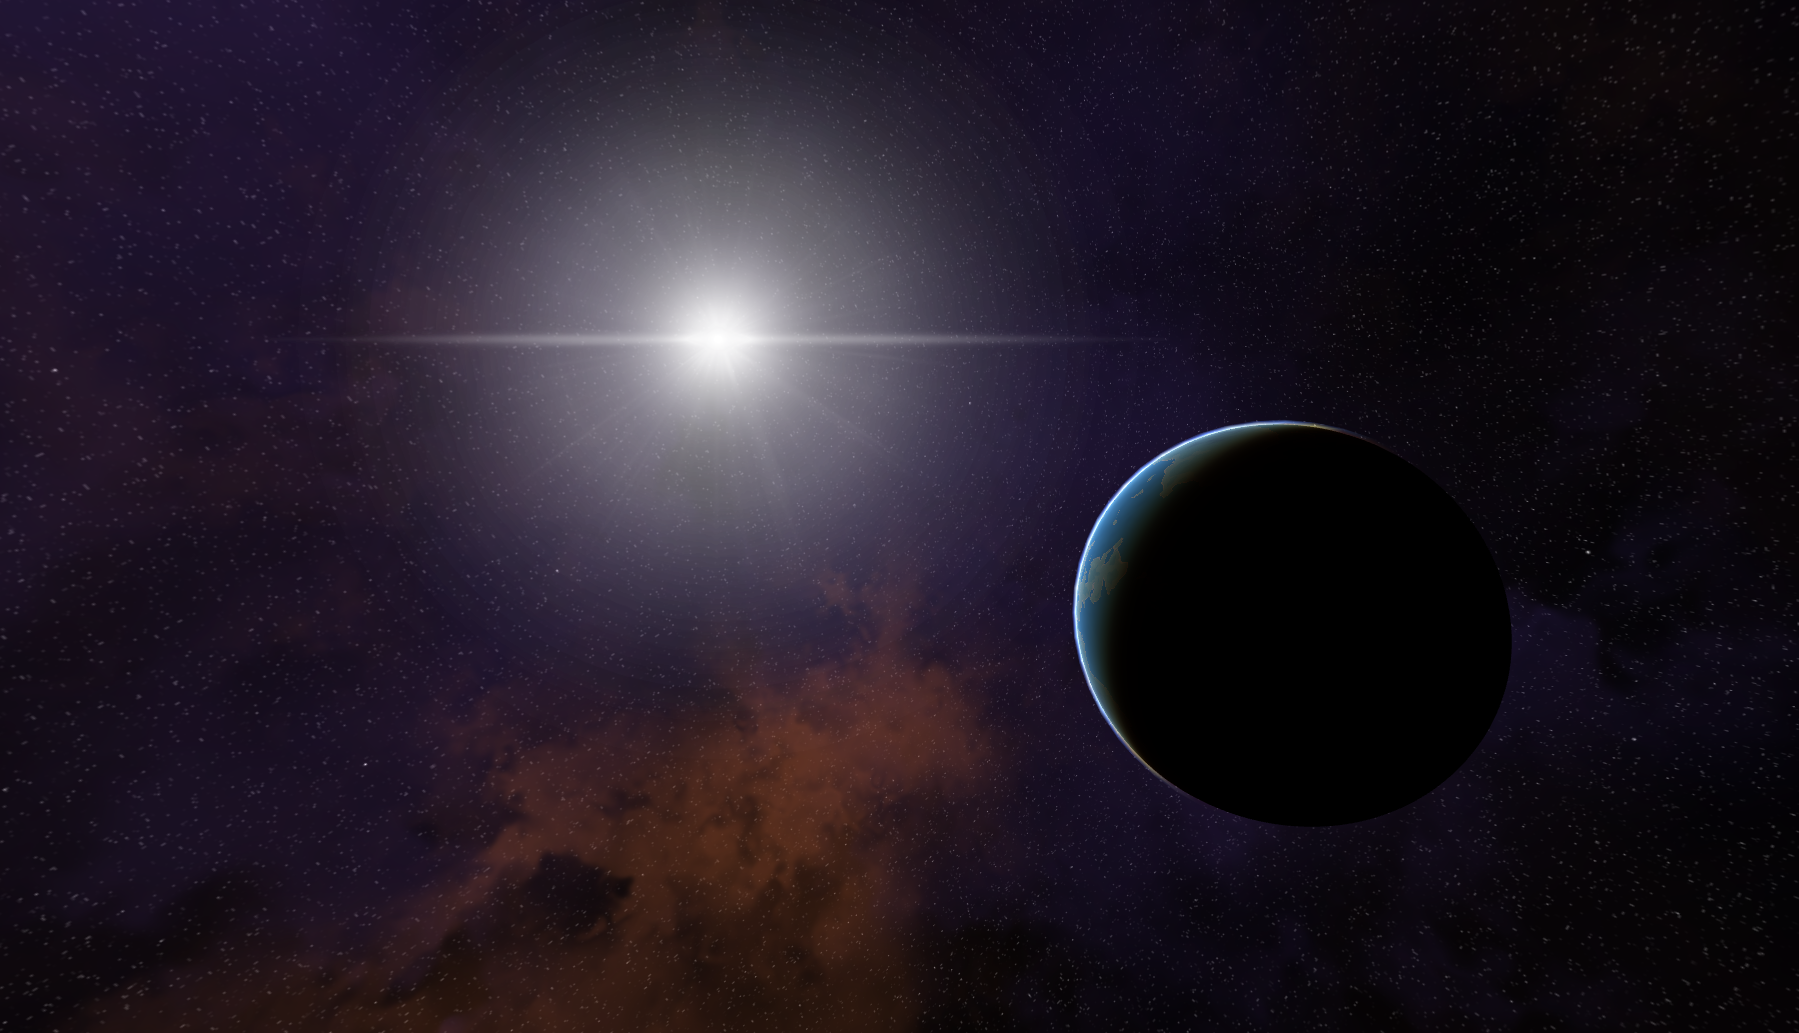
This is a quick update post to reassure anyone who’s interested that the project continues to be in development. Most of the updates continue to be purely visual, although there will soon be a return to gameplay mechanics. The most immediately noticeable improvement is that the planets are no longer entirely static — oceans now freely move around! Although many will appear much like the short video below, the water system supports oceans of any color. This will allow for exotic planets with oceans of methane or other crazy environments.

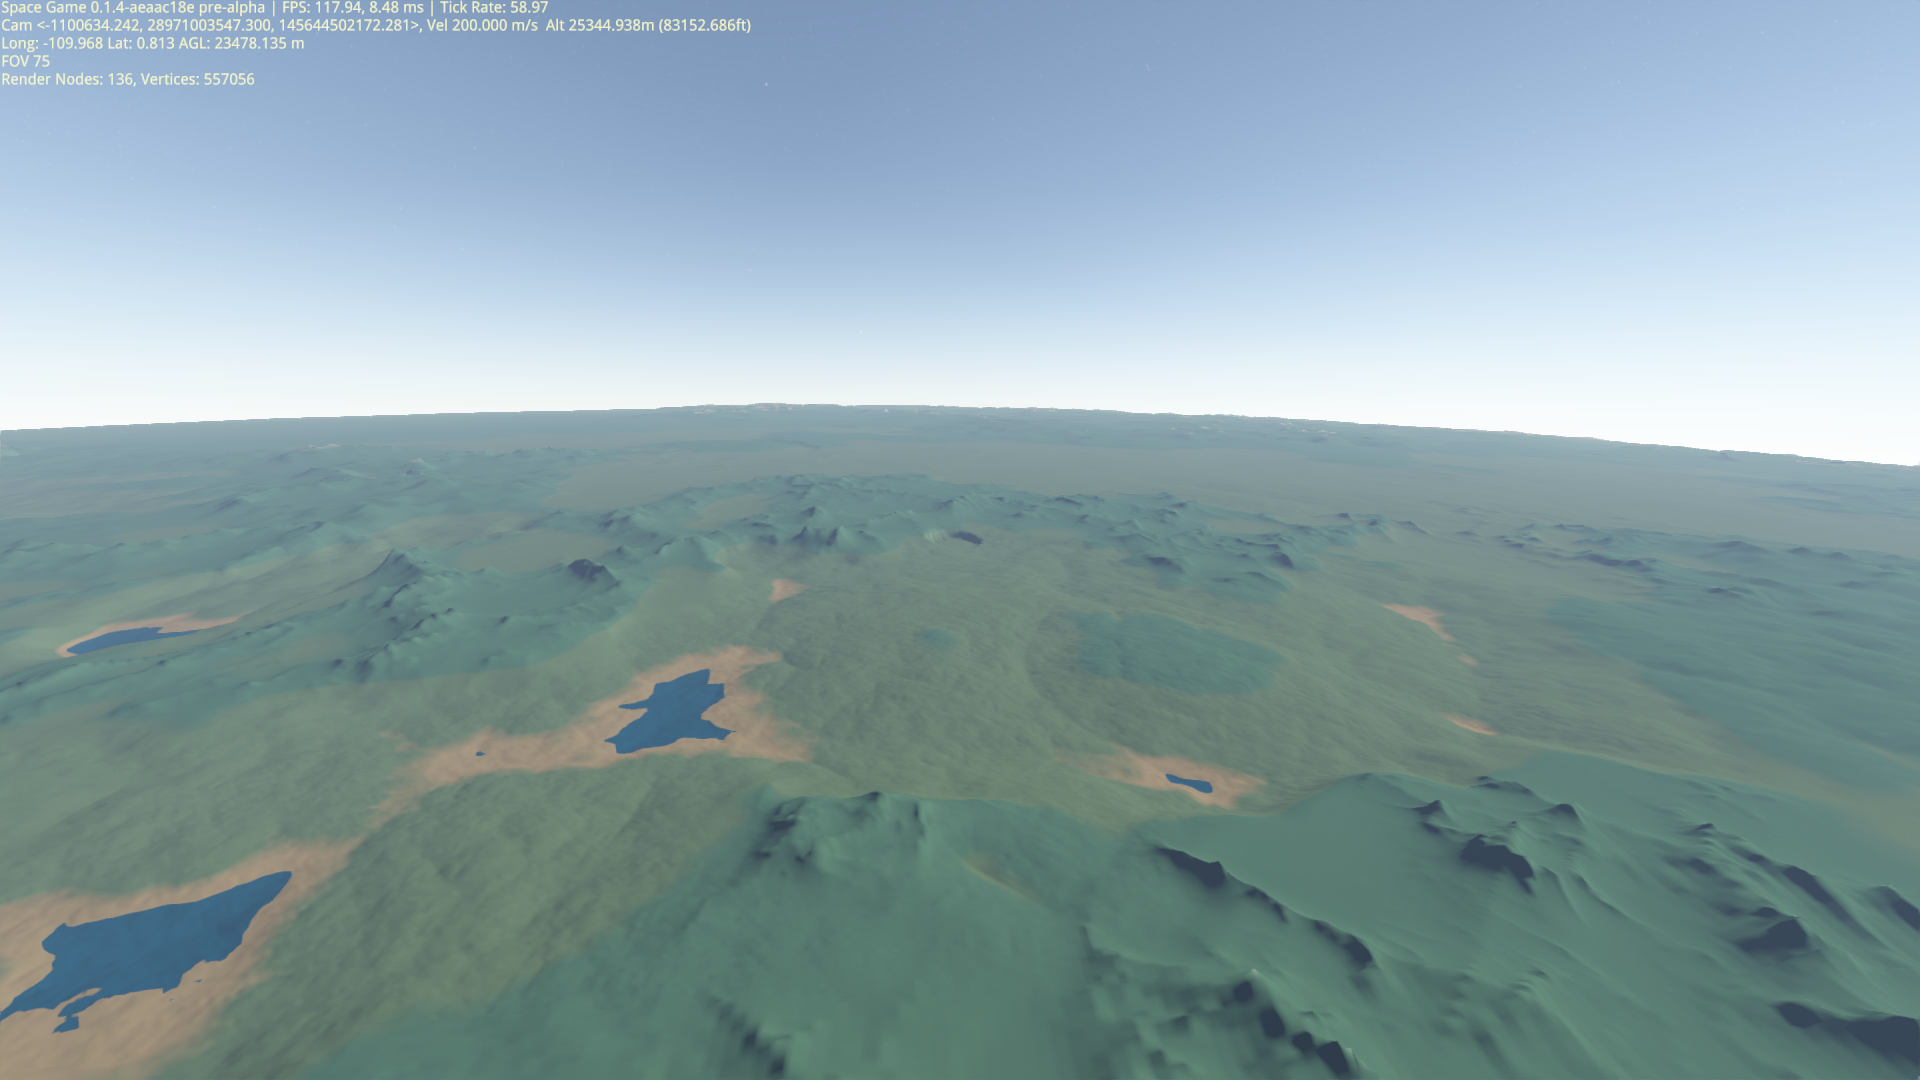
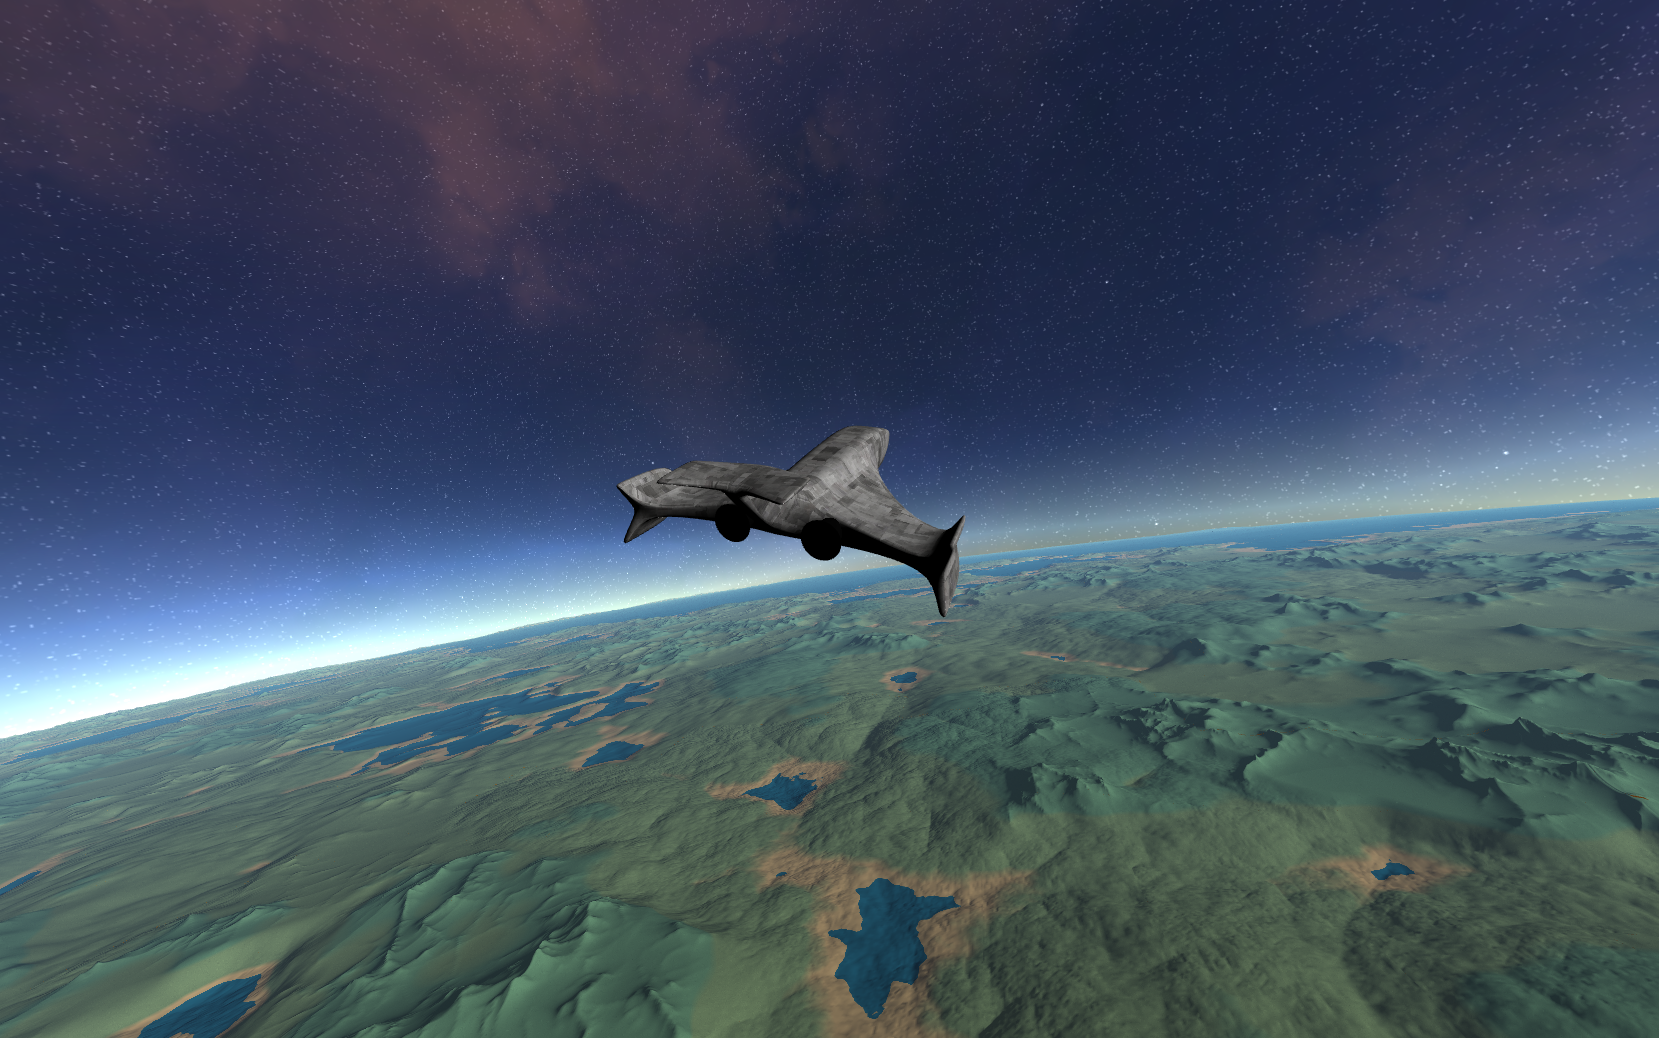
I will update this post with close-ups of the new texturing system, but I will sum up the changes for now. Planets now support a palette of up to 64 textures determined by slope and biome. This pool of textures is drawn on to create more interesting landscapes with changing details. Up to four textures are supported at any given terrain vertex, which allows for large-scale variation across the planet.

I hope to delve more deeply into some of the updates expected for v0.4/0.5 in an upcoming post, but that’s all I have for a quick update today. Enjoy the water eye-candy!

Space Game Update #2 – Lens Flares & Orbit HUD

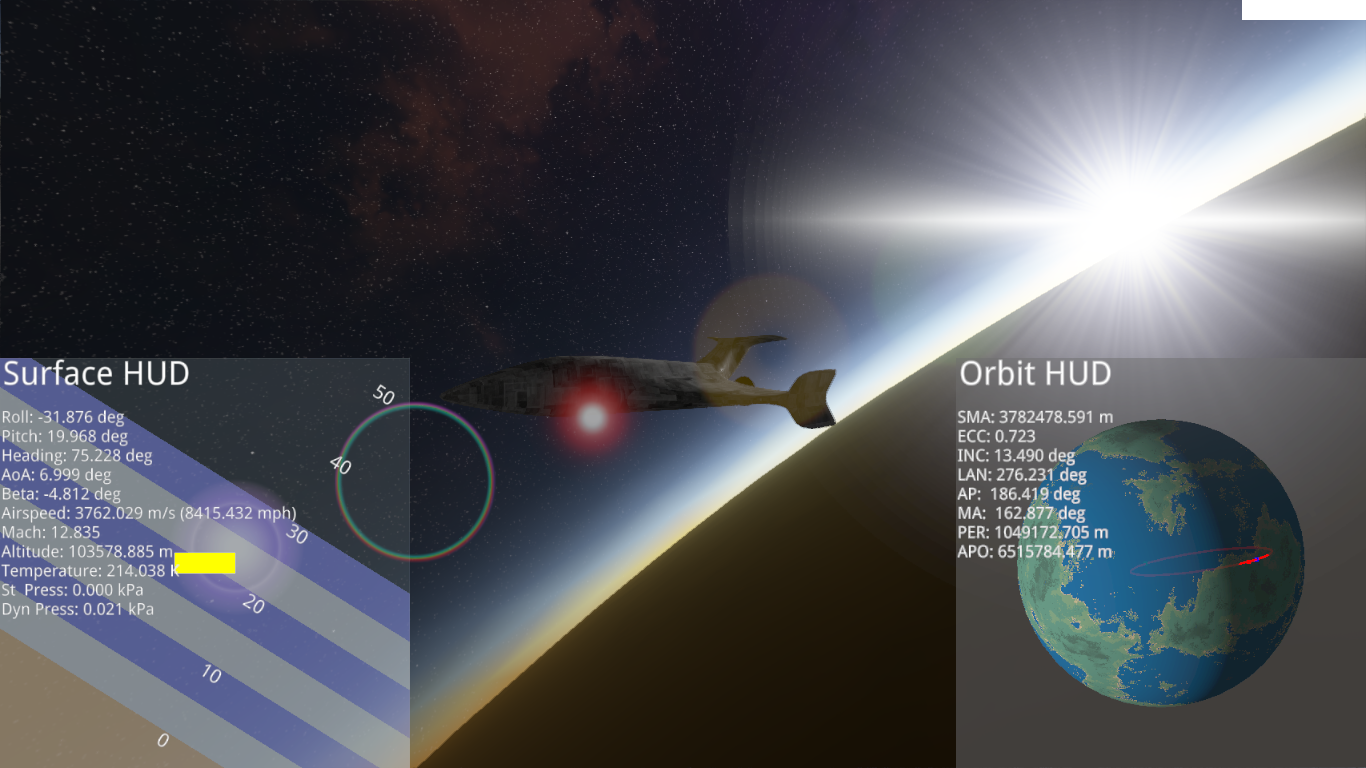
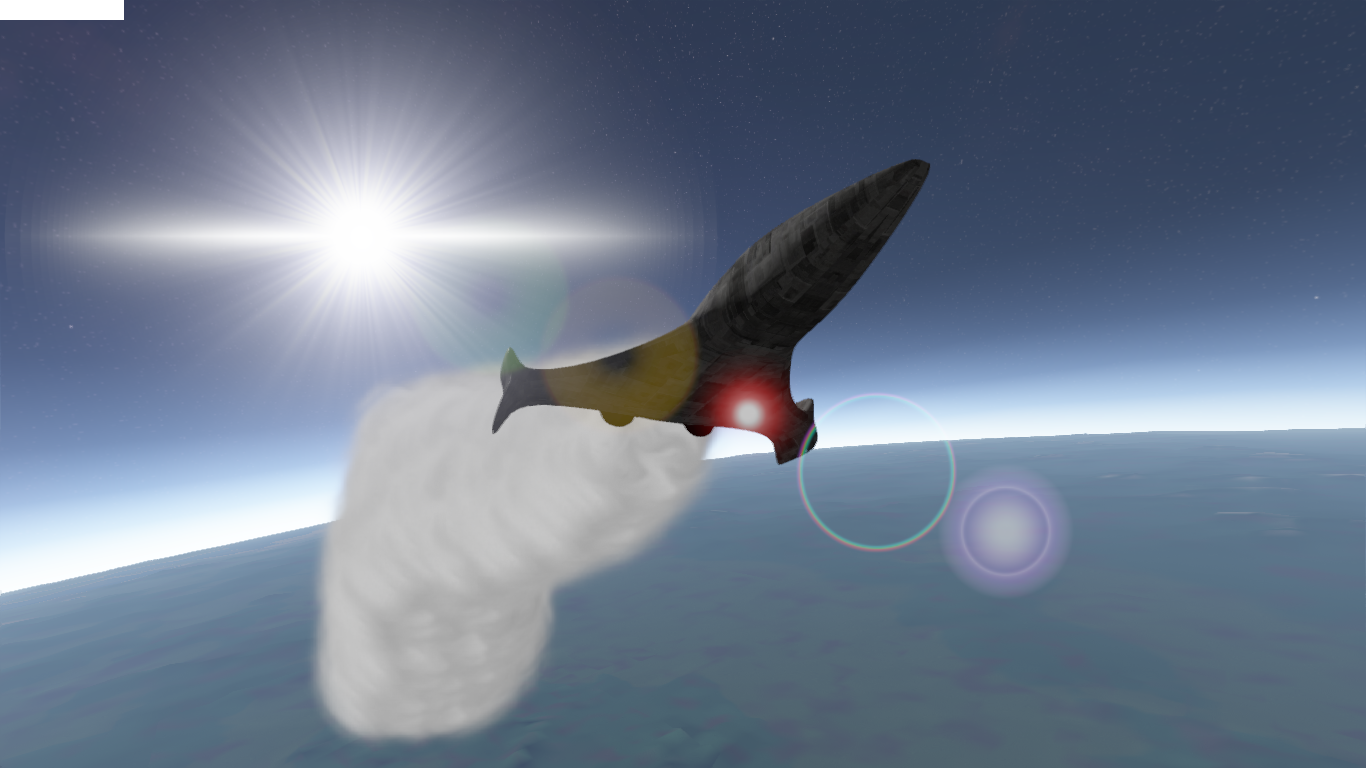
This week was a busy one! Both graphics and gameplay saw some new features implemented, and many bugs were squashed in the process! Visually, the most prominent of the updates are the lens flares and star glow fixes. In the past, stars would glow whether they were occluded by and object or not. Now, stars will glow and produce lens flares if you look towards the light source. Any object (planets, spacecraft, etc) can occlude the light in real time. This produces some very neat scenes where the star flickers as objects pass in front, or when you get hit with the morning sunrays.

The lens flare effect was accomplished using a nifty OpenGL feature called occlusion queries. It works like this: A quad is rendered at the star location at the end of a frame. The depth mask is activated so that the depth buffer is not written to. Depth test is left enabled and the query is sent to the GPU. At this point, we would have to wait for the occlusion result. However, for lens flares and star glow, a single frame delay is not very noticeable except at low frame rates. So, we simply use the previous frame occlusion query result. This prevents stalling the GPU to transfer data to the CPU and produces very nice results! The occlusion query provides information about how many framebuffer samples passed through the shaders. This let’s us know if the star is occluded, and therefore whether we should render a glow and flares. Once this is determined, a simple screen-space rendering algorithm is used to create the lens flare effect. Look at the screenshots for the very cool end product!

Gameplay also had some updates. As you can see in the above screenshot, there is a new HUD object available, Orbit HUD. This HUD computes your current Keplerian orbital elements and displays them in real time on a 3D globe. This is a very useful display for calculating orbits and trajectories. And now that you can easily determine your current trajectory, it is much easier to fly the spacecraft into an actual orbit. The making of this HUD exposed some issues with the PI-PR (Planet Inertial and Planet Rotating) reference frame equations that have now been patched. With the addition of a prograde indicator, it should be much easier to perform burns and control your orbit.

With these two updates, the game continues to feel more like, well, like a game everyday! It has a long way to go, but each update encourages me to add further features. As gameplay elements are implemented, I hope to start defining what kind of game this will be. The objectives, the challenges, and the general experience are all beginning to unfold. I’m excited to see where the game takes me next. Hopefully, I can come up with a fitting name!

Space Game Update #1


Hello again! I come bearing news of many positive updates to the Space Game engine. In the last few weeks, I have managed to flesh out some of the more difficult features that will pave the way forward. The game itself continues to be much more stable with every passing week. Let’s hop right into some of the most interesting improvements from the coding dungeon.

First of all: terrain generation is getting much better. It now includes a fairly accurate and efficient vector data system. Right now that just means roads/runways, but in the future it could open many exciting avenues (pun intended) for surface level details. The system conserves memory usage by making use of higher resolution terrain pages. This of course revealed a huge bug in the high LOD terrain request pipeline where precision appeared to drop at sub-meter resolutions. Luckily, this was a fairly simple fix, and the results are great! Stable sub-meter page resolution allows for much more detailed terrains without using significantly more memory. As long as your computer can handle it, sub-centimeter details are not out of the question!

Terrain page selection has also seen some minor updates. Loading into the world was pretty painful for the last few minor versions because of the way terrain pages were requested and selected. The previous algorithm was aggressive; tiles were selected before their height data was parsed. A maximum bounding box extent was assumed for these pre-loaded tiles, which caused a cascade of tile selection in the quadtree. The new algorithm will abandon selection if a tile is not yet loaded. I had avoided this in the past as it does not guarantee that quadtree nodes are always within one level of each other as CDLOD requests. However, my terrain LOD scheme has become a kind of CDLOD/Chunked LOD hybrid with skirts, which allows me to hide most of the terrain issues while also taking advantage of CDLOD’s morphing on the bulk of the terrain.

Another huge improvement was in the GPU-side terrain generation shaders. Terrain page data is generated on the GPU on a 32-bit float texture with four components (RGBA32F). The height was stored in one component and the normal was stored in the remaining three. Using 96 out of 128 bits on normal data was pure insanity. I can afford to use much lower precision when processing normals, so I decided to pack them into a single component. The X and Y components of the normal each use 16-bits and are packed into one 32-bit float. The final component, Z, is determined when unpacking by working backward from unit vector normalization. In normal space, the Z direction is always positive, so it is easy to infer the sign. After these changes, I have 64-bits available in the data page for accessory terrain data. I have not quite worked out how I will be using these components, but it will likely be in generating a more visually interesting terrain.

Physics feel pretty stable. There are some open issues with the physics system, but overall, you can take off, land, crash, do flips, or whatever and you probably will not notice the deficiencies. Although the collision system will have to be written before a major release, it is fine for now. I have some plans for an orbital dynamics HUD display that will help visualize your current orbit. This is where things will start to get interesting. It’s hard to do anything in space without knowing your current orbit. Hopefully this will lead smoothly into prograde and retrograde guides among others to aid the player in making adjustments.

There are many other performance, visual, and stability updates that have been made in the past few weeks. I am working hard to put out a playable v0.2 in the near future. This will feel a lot more like a playable game/simulator than previous iterations. I am super excited to share it with everyone. Please stay tuned!

Rocket Assembled!

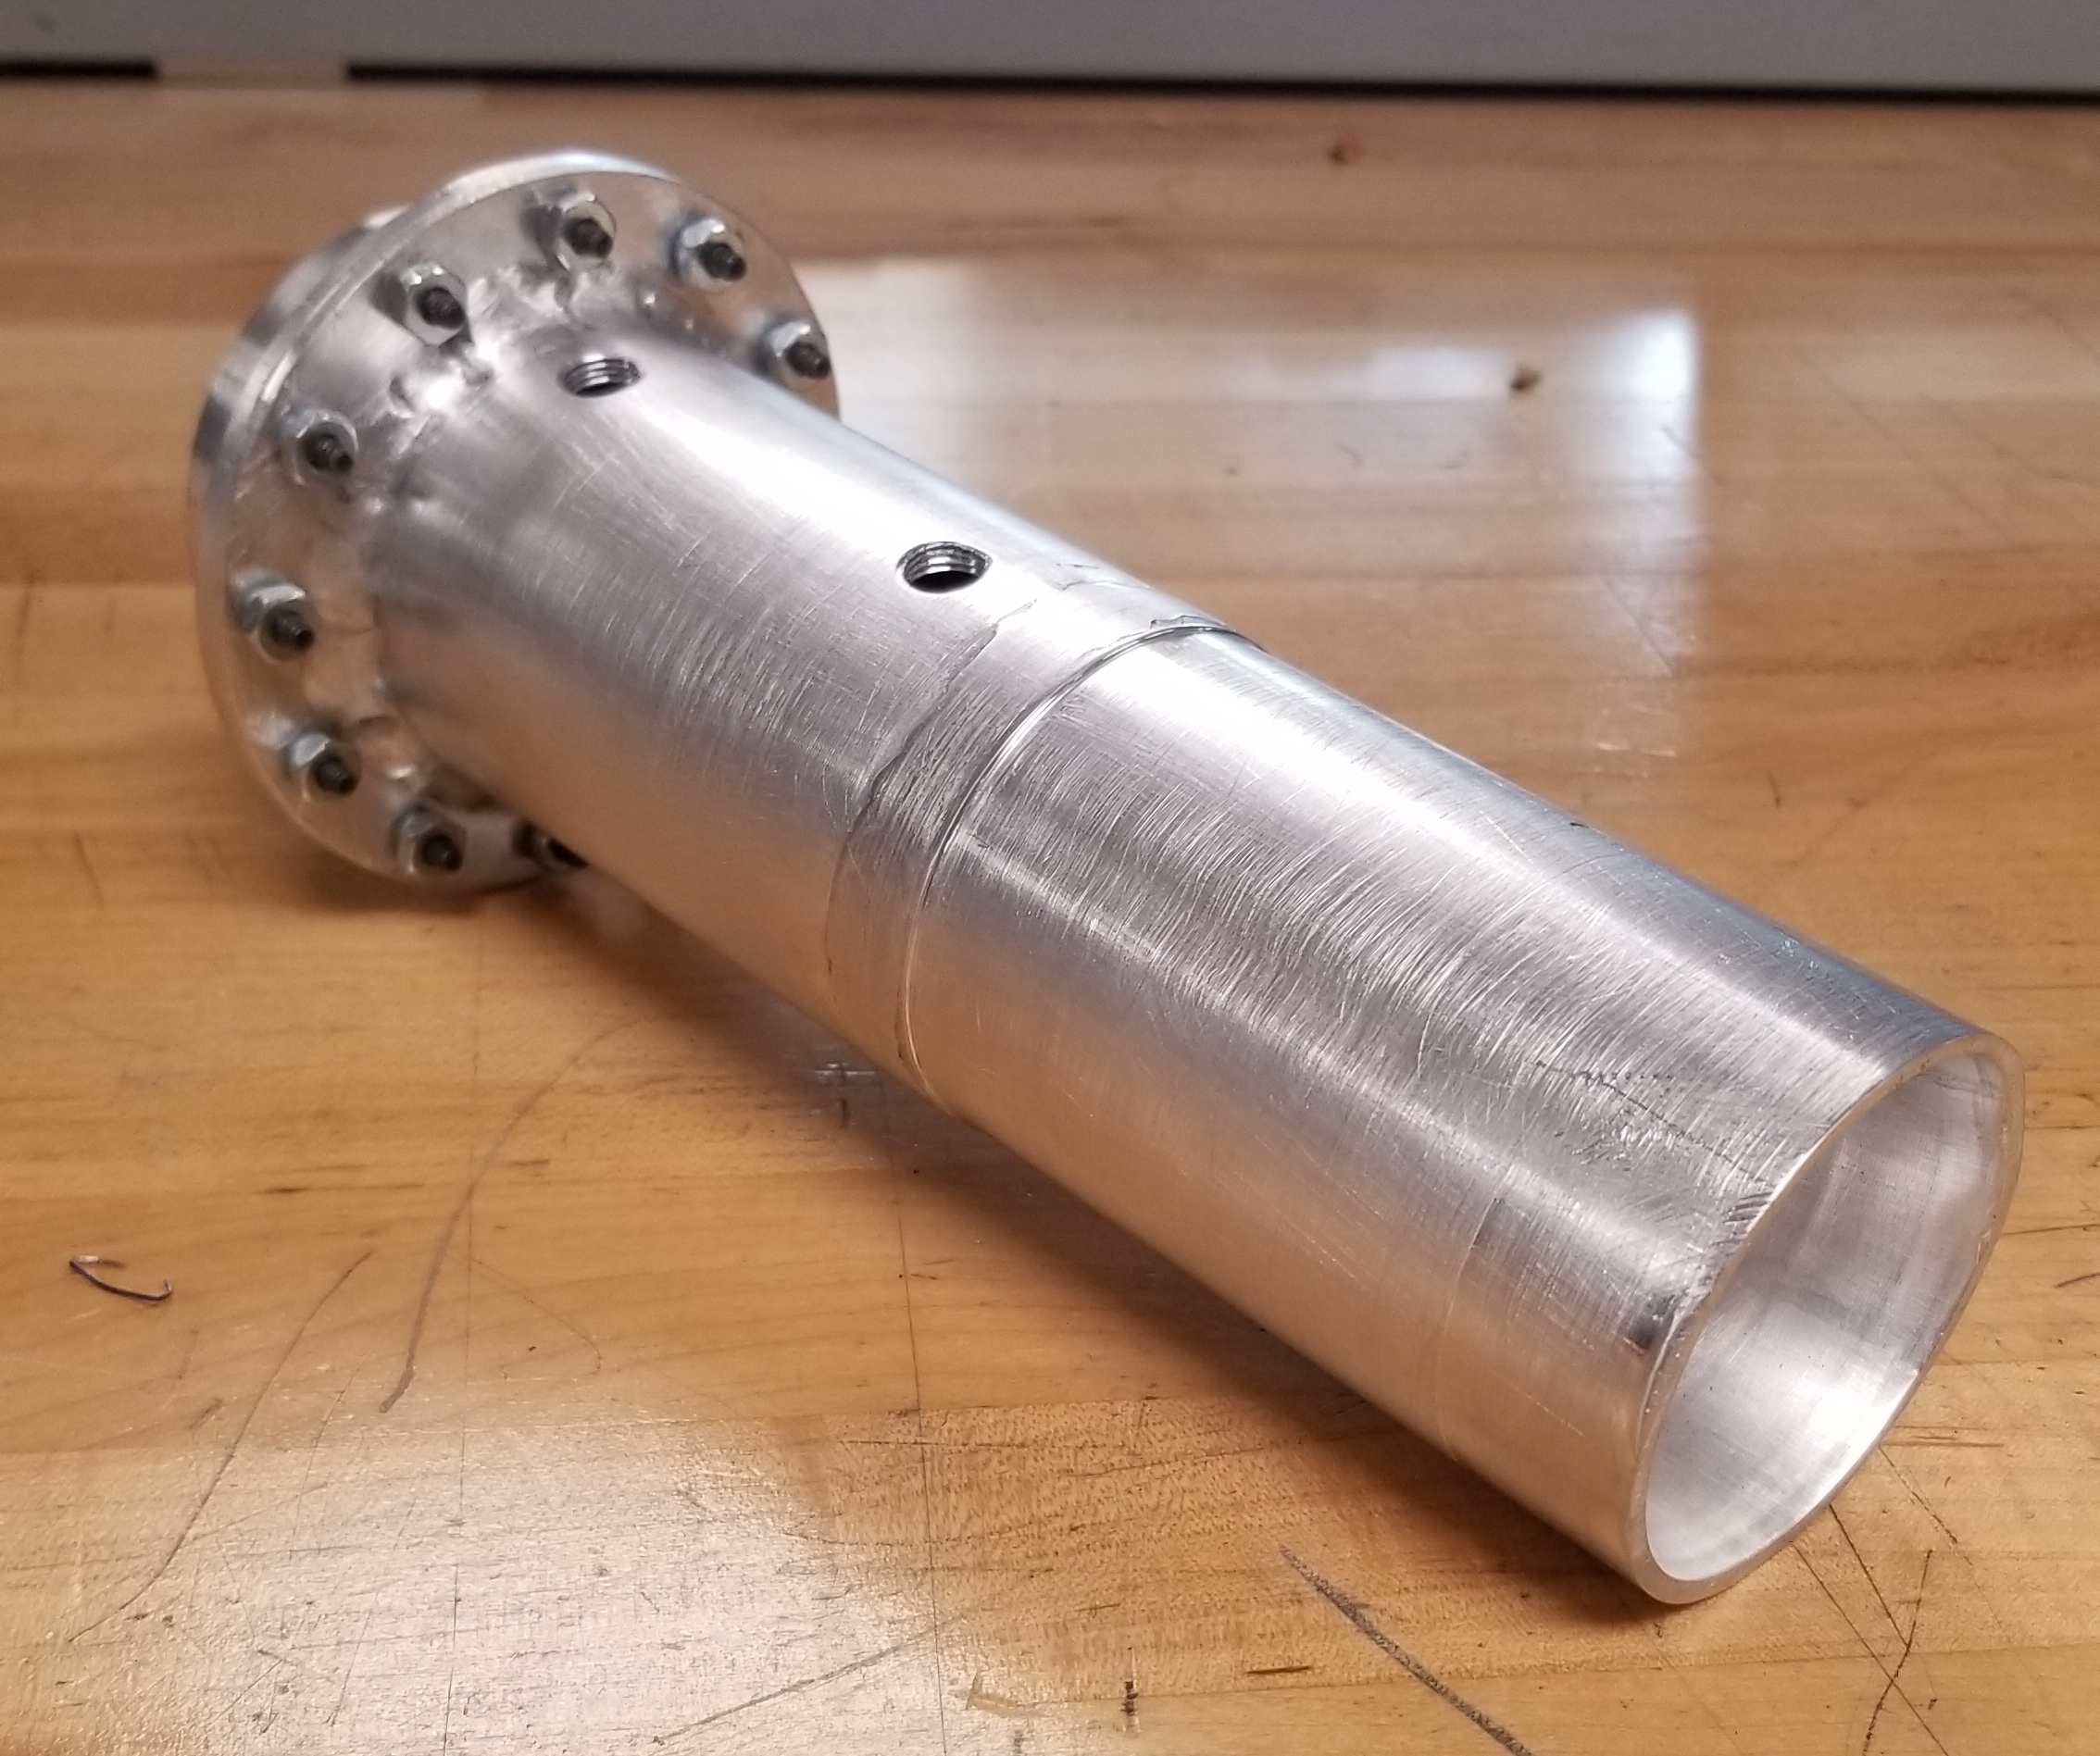
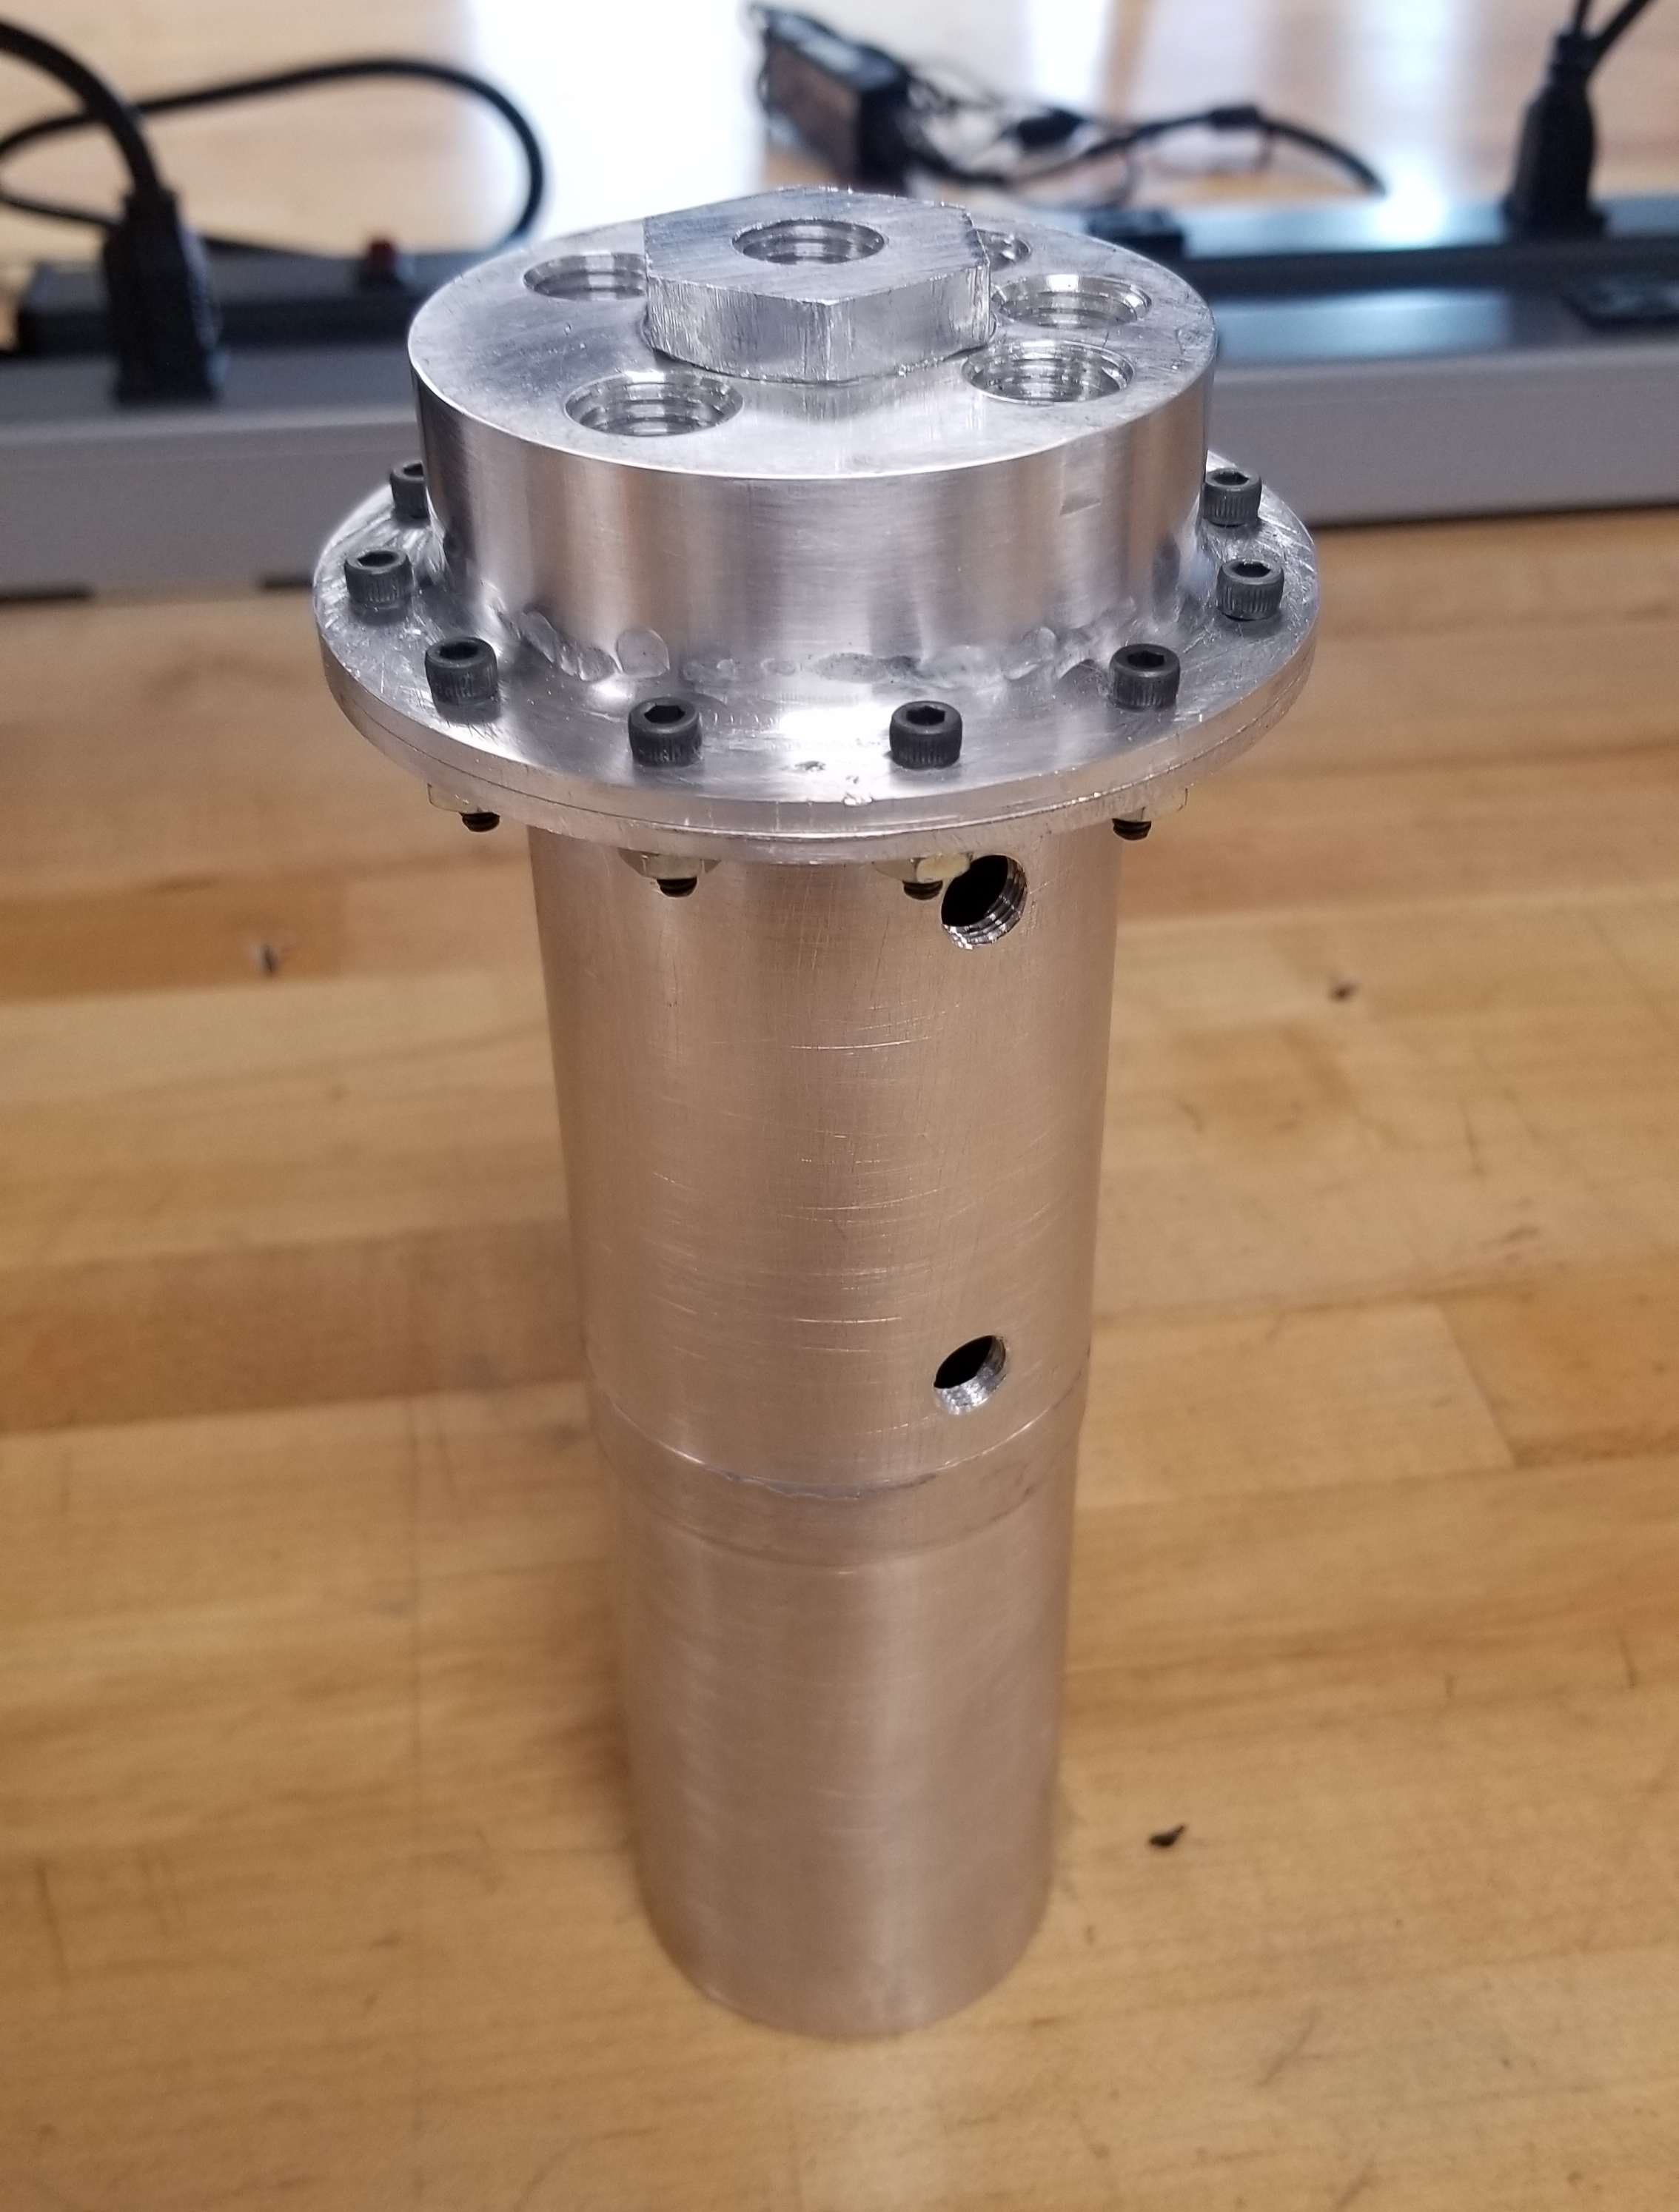
This weekend marks the initial assembly of the test rocket. If you take a look at the pictures, everything looks pretty clean. Well, the pictures make it look a lot more effortless than it turned out to be. The initial attempts at welding went… poorly. I had machined a simple welding fixture to keep everything in place when I gave the parts to the welder. Unfortunately, the weld went through in multiple places, securing both the rocket and the fixture in place. After chiseling and boring away for a few hours — all but destroying the original pieces — I realized that I probably needed to machine new parts and start over.

I cut off the failed weld from the combustion-nozzle assembly flange. I was able to salvage most of this piece. However, both flanges and the injector dome had to be machined all over again. As I already had both material and the CAM programs available, this was not nearly as daunting as it first seemed. Within two weeks I had remade the parts and prepared for a second welding round. I discussed what might have gone wrong with the welder, and we made a plan to improve on some of our methods. I added an inset to the flange rather than attempting to fixture it from the inside. The welder thought this and a slower weld process would have better results.

As you can see, the methodology improvements paid off! After receiving the parts back from the welder (which they were kind enough to do free of charge!), I did some final machining on the welds to clean up the finished appearance. I drilled the flange holes to the proper size to accommodate #6 bolts. Finally, I drilled and tapped two holes (1/8″ NPT) for the instrumentation on the combustion chamber.

The end product looks great given the difficulties I have had to get to this point! I’ve learned a lot of lessons putting this together, as painful as some of them were. It’s not perfect, but it’s in good shape to gear up for a test in a few months. There are a few minor final assembly activities (fitting O-ring, etc), but the bulk manufacturing for the rocket is now complete!

Now that the rocket is complete, I have turned my attention to the test stand. We have been collecting pressure transducers, thermocouples, load cells, and all of the fun instrumentation! The plans are coming together for this, and some parts are already ordered. I don’t expect the test stand will take much longer than a month to complete at the current pace. I’m tentatively shooting for an April test fire. We’ll see how that plays out.


Rocket Engine

The Plan

For this post, I would like to step back a bit from the typical software discussion, and provide a little insight into my latest hardware project (okay, there is some software!). Over the last few years, my friend and I have been designing components for a small, hobbyist-level liquid rocket engine. We had a few goals in mind when we started, and trust me when I say they were quite lofty:

  • Generate “some” thrust — maybe 50 lbf
  • Replaceable injector for design iteration
  • Don’t get burned

Okay, so they were actually pretty basic. The first thing we did to work towards achieving this goal was break the task up into several iterations. The first iteration happens to be a glorified propane-air torch that also has a “kick” to it. Perhaps the coolest feature of the rocket is the replaceable

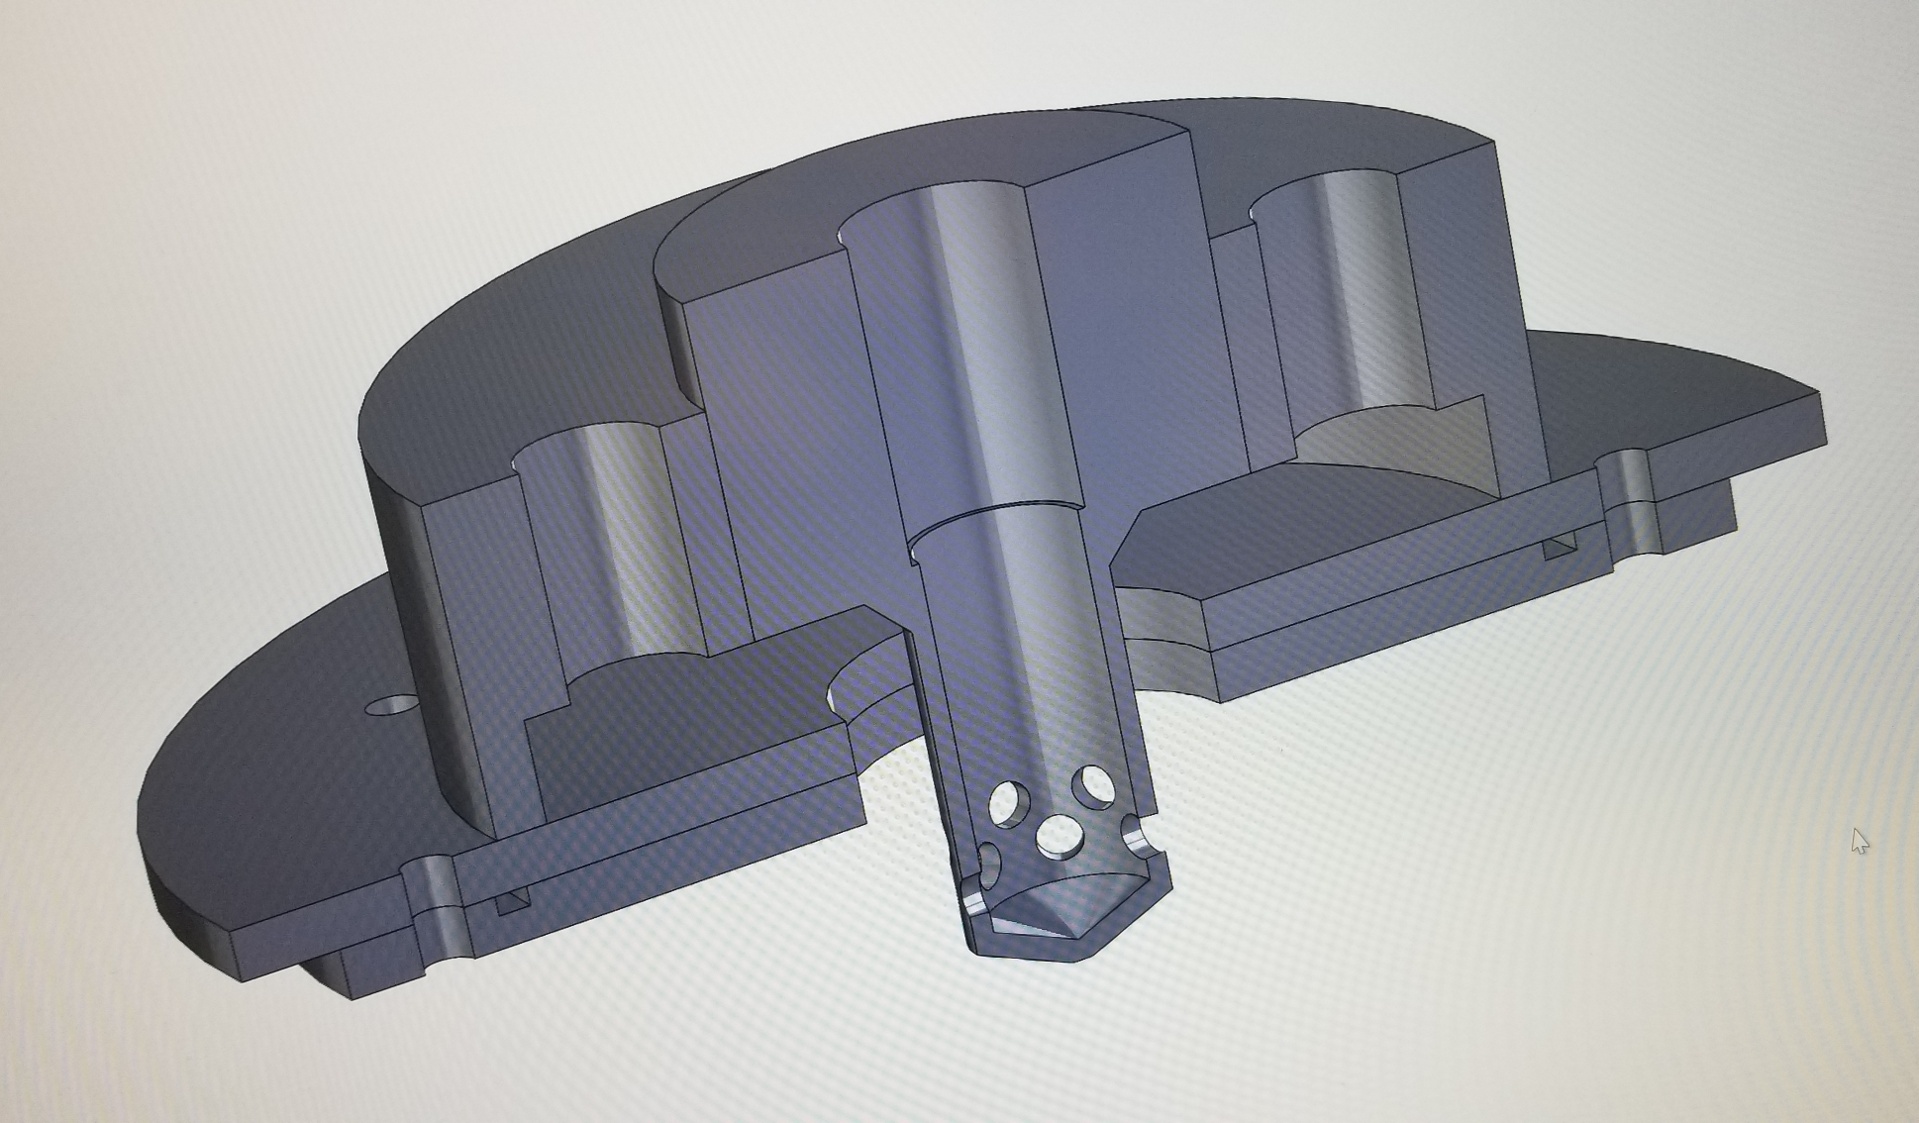
injector, which is based on a coaxial pintle design. In preparation for the next iteration of the rocket, we will test various pintle designs to optimize performance and reduce the number of parts that will have to be remade. These can later be integrated into the injector dome when performance properties have been measured and confirmed.
The Challenge

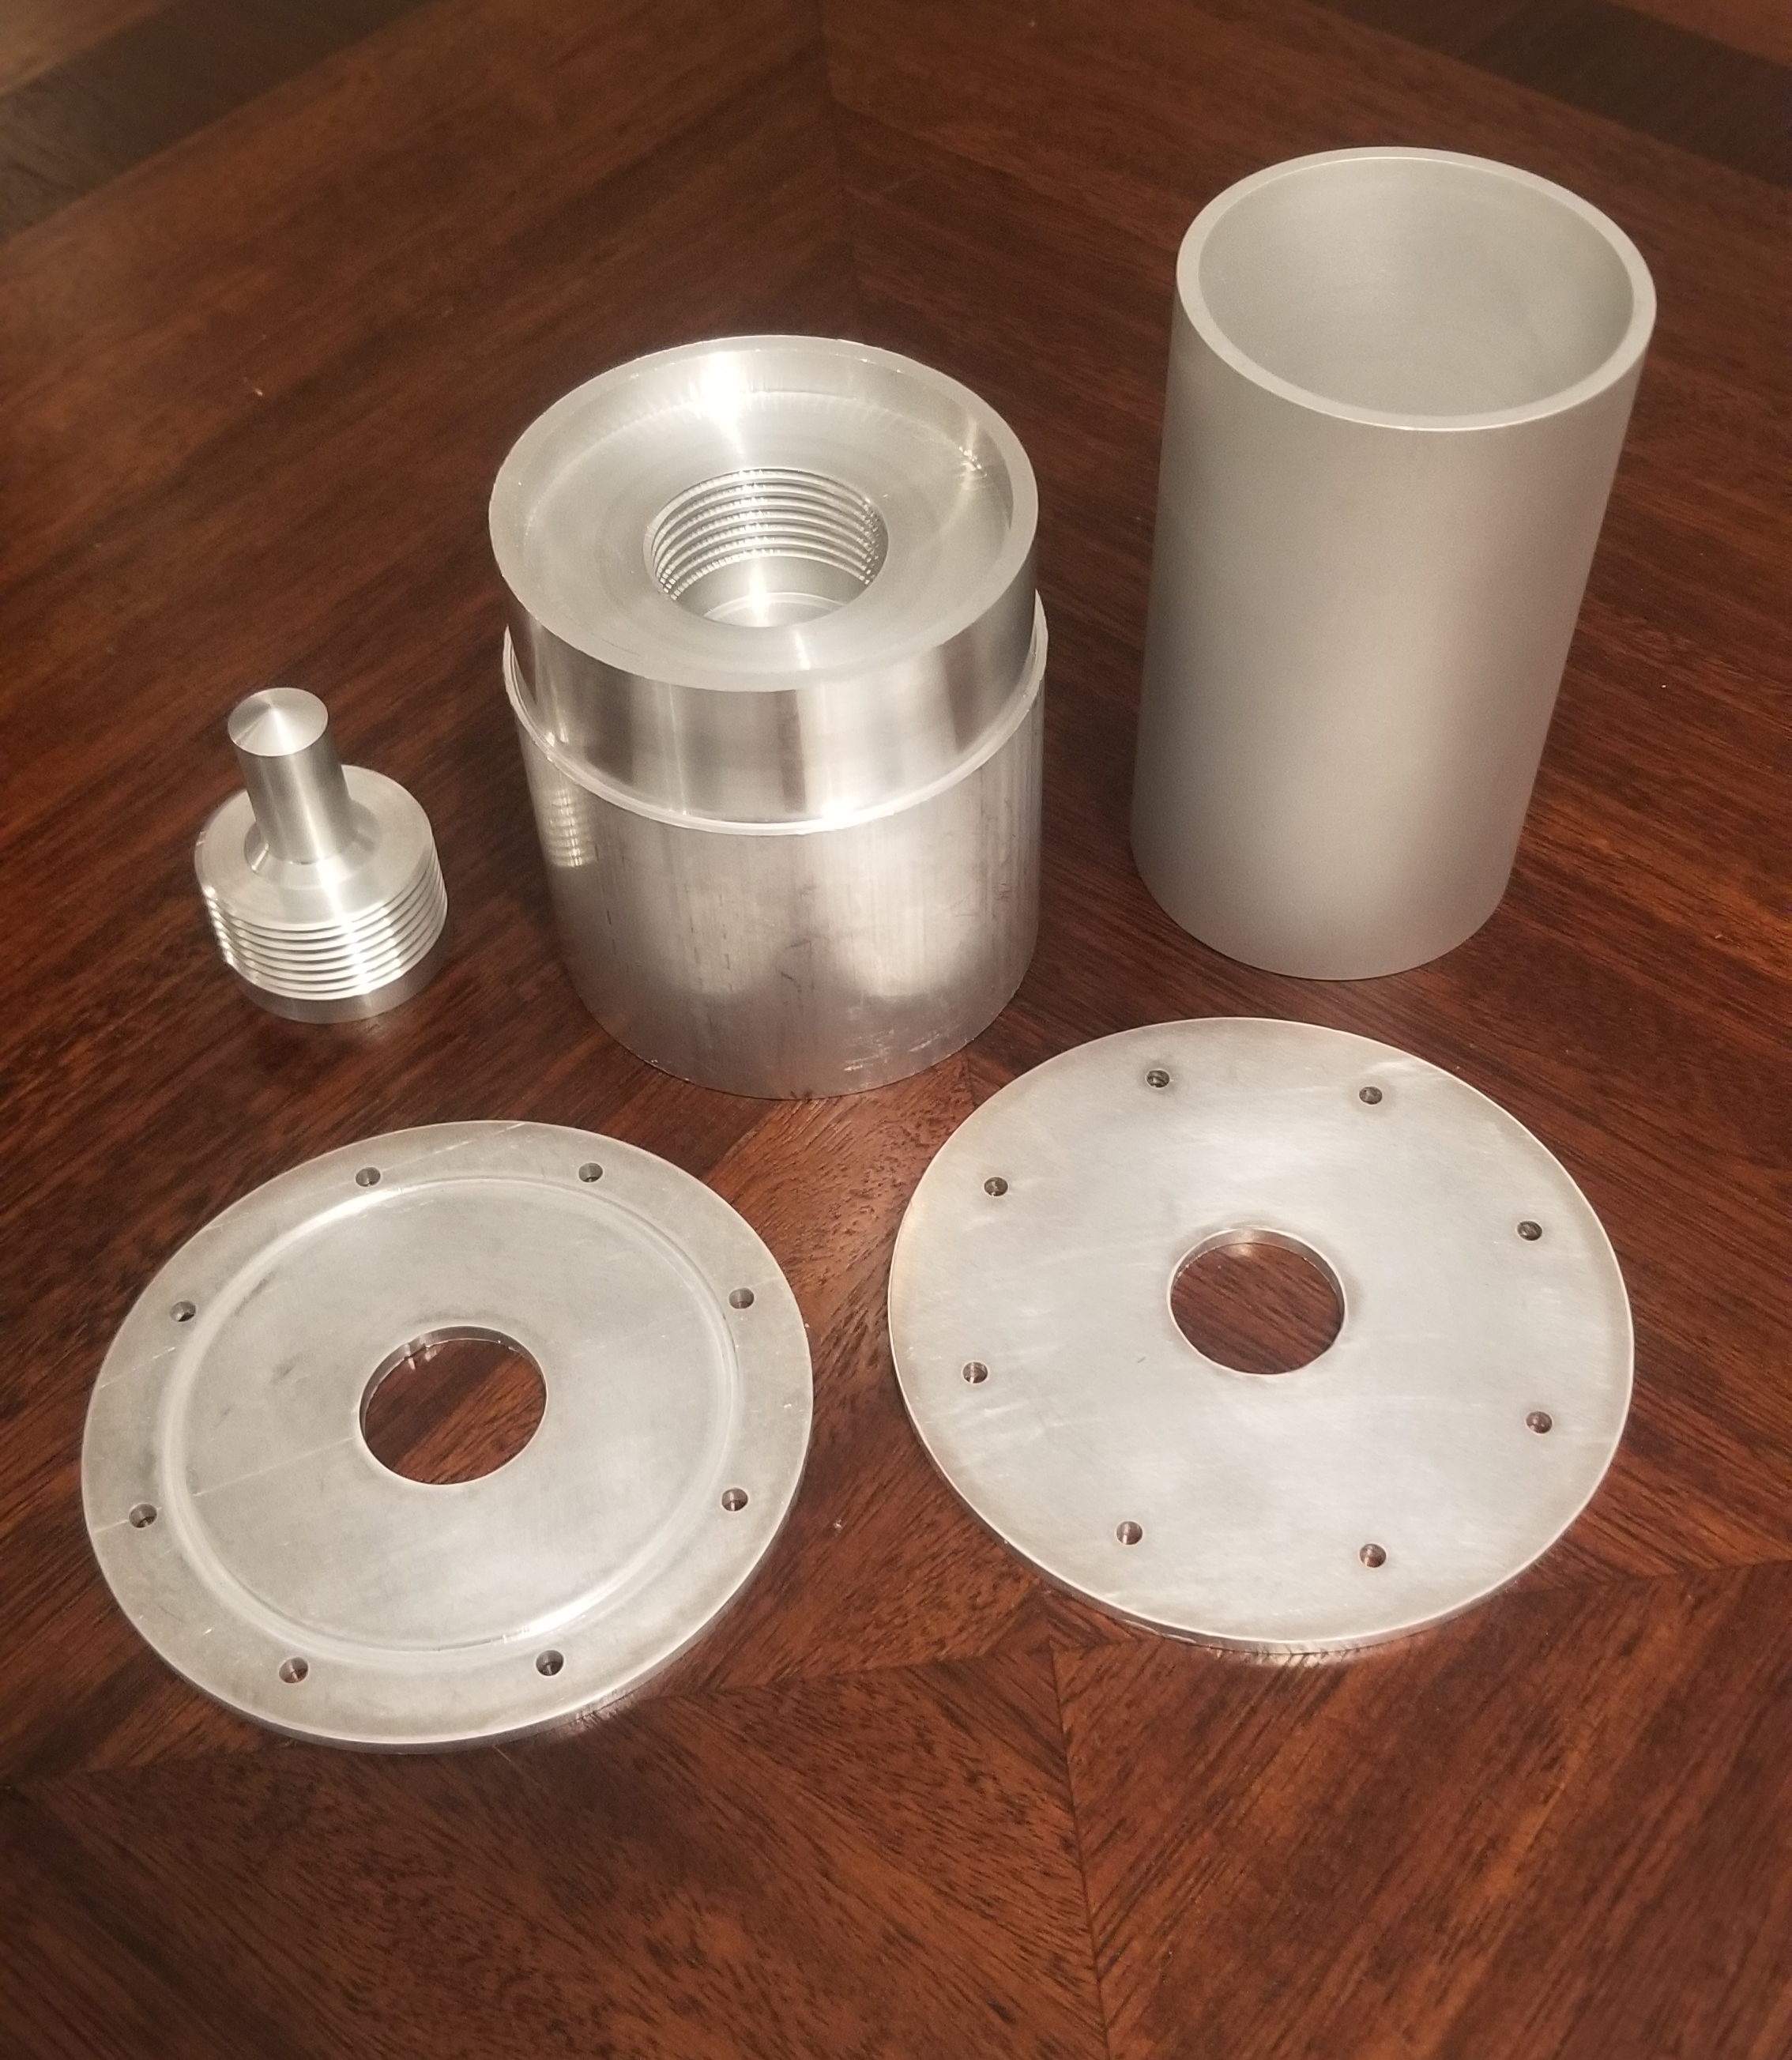
One of our early challenges was manufacturing. After we had created the drawings for each component of the engine, we set out to collect some quotes and get some parts made. It turns out that machine shops charge exorbitant prices for one-off parts. It was about half as expensive to have the parts made in aluminum, so we had the shop start with the throat/nozzle. Of course, this change in material meant that combustion would have to be largely undersized, and the burn times would have to be drastically reduced. For this iteration of the motor, we decided, these were acceptable tradeoffs.
However, the price did get me looking for alternatives. I found a local maker space that offered access to their CNC mill and lathe for a very reasonable monthly cost. I figured that by the time I learned to machine the parts myself, I would still come out ahead. And so I have spent the last few months between my space simulator project and my day job learning how to machine and perfecting my methods. I am just now beginning to complete the final set of parts for the rocket. We hope to have these ready to be welded in the next few weeks.

Pintle Details

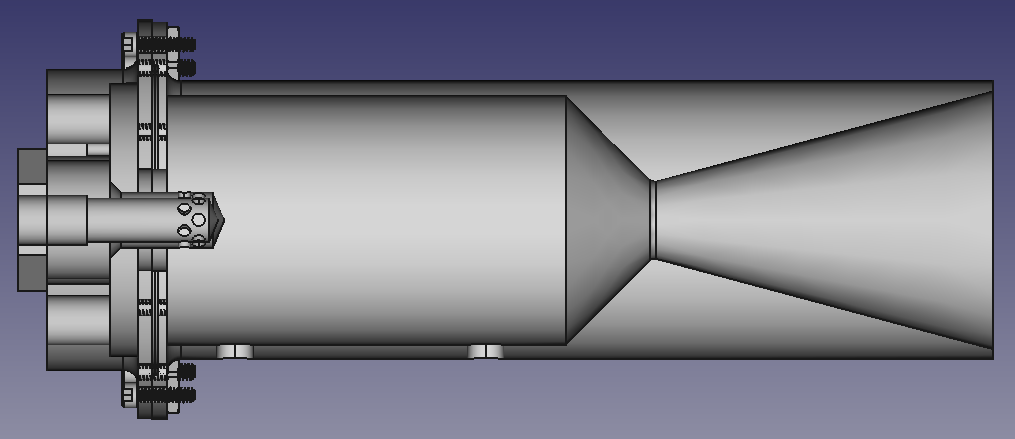
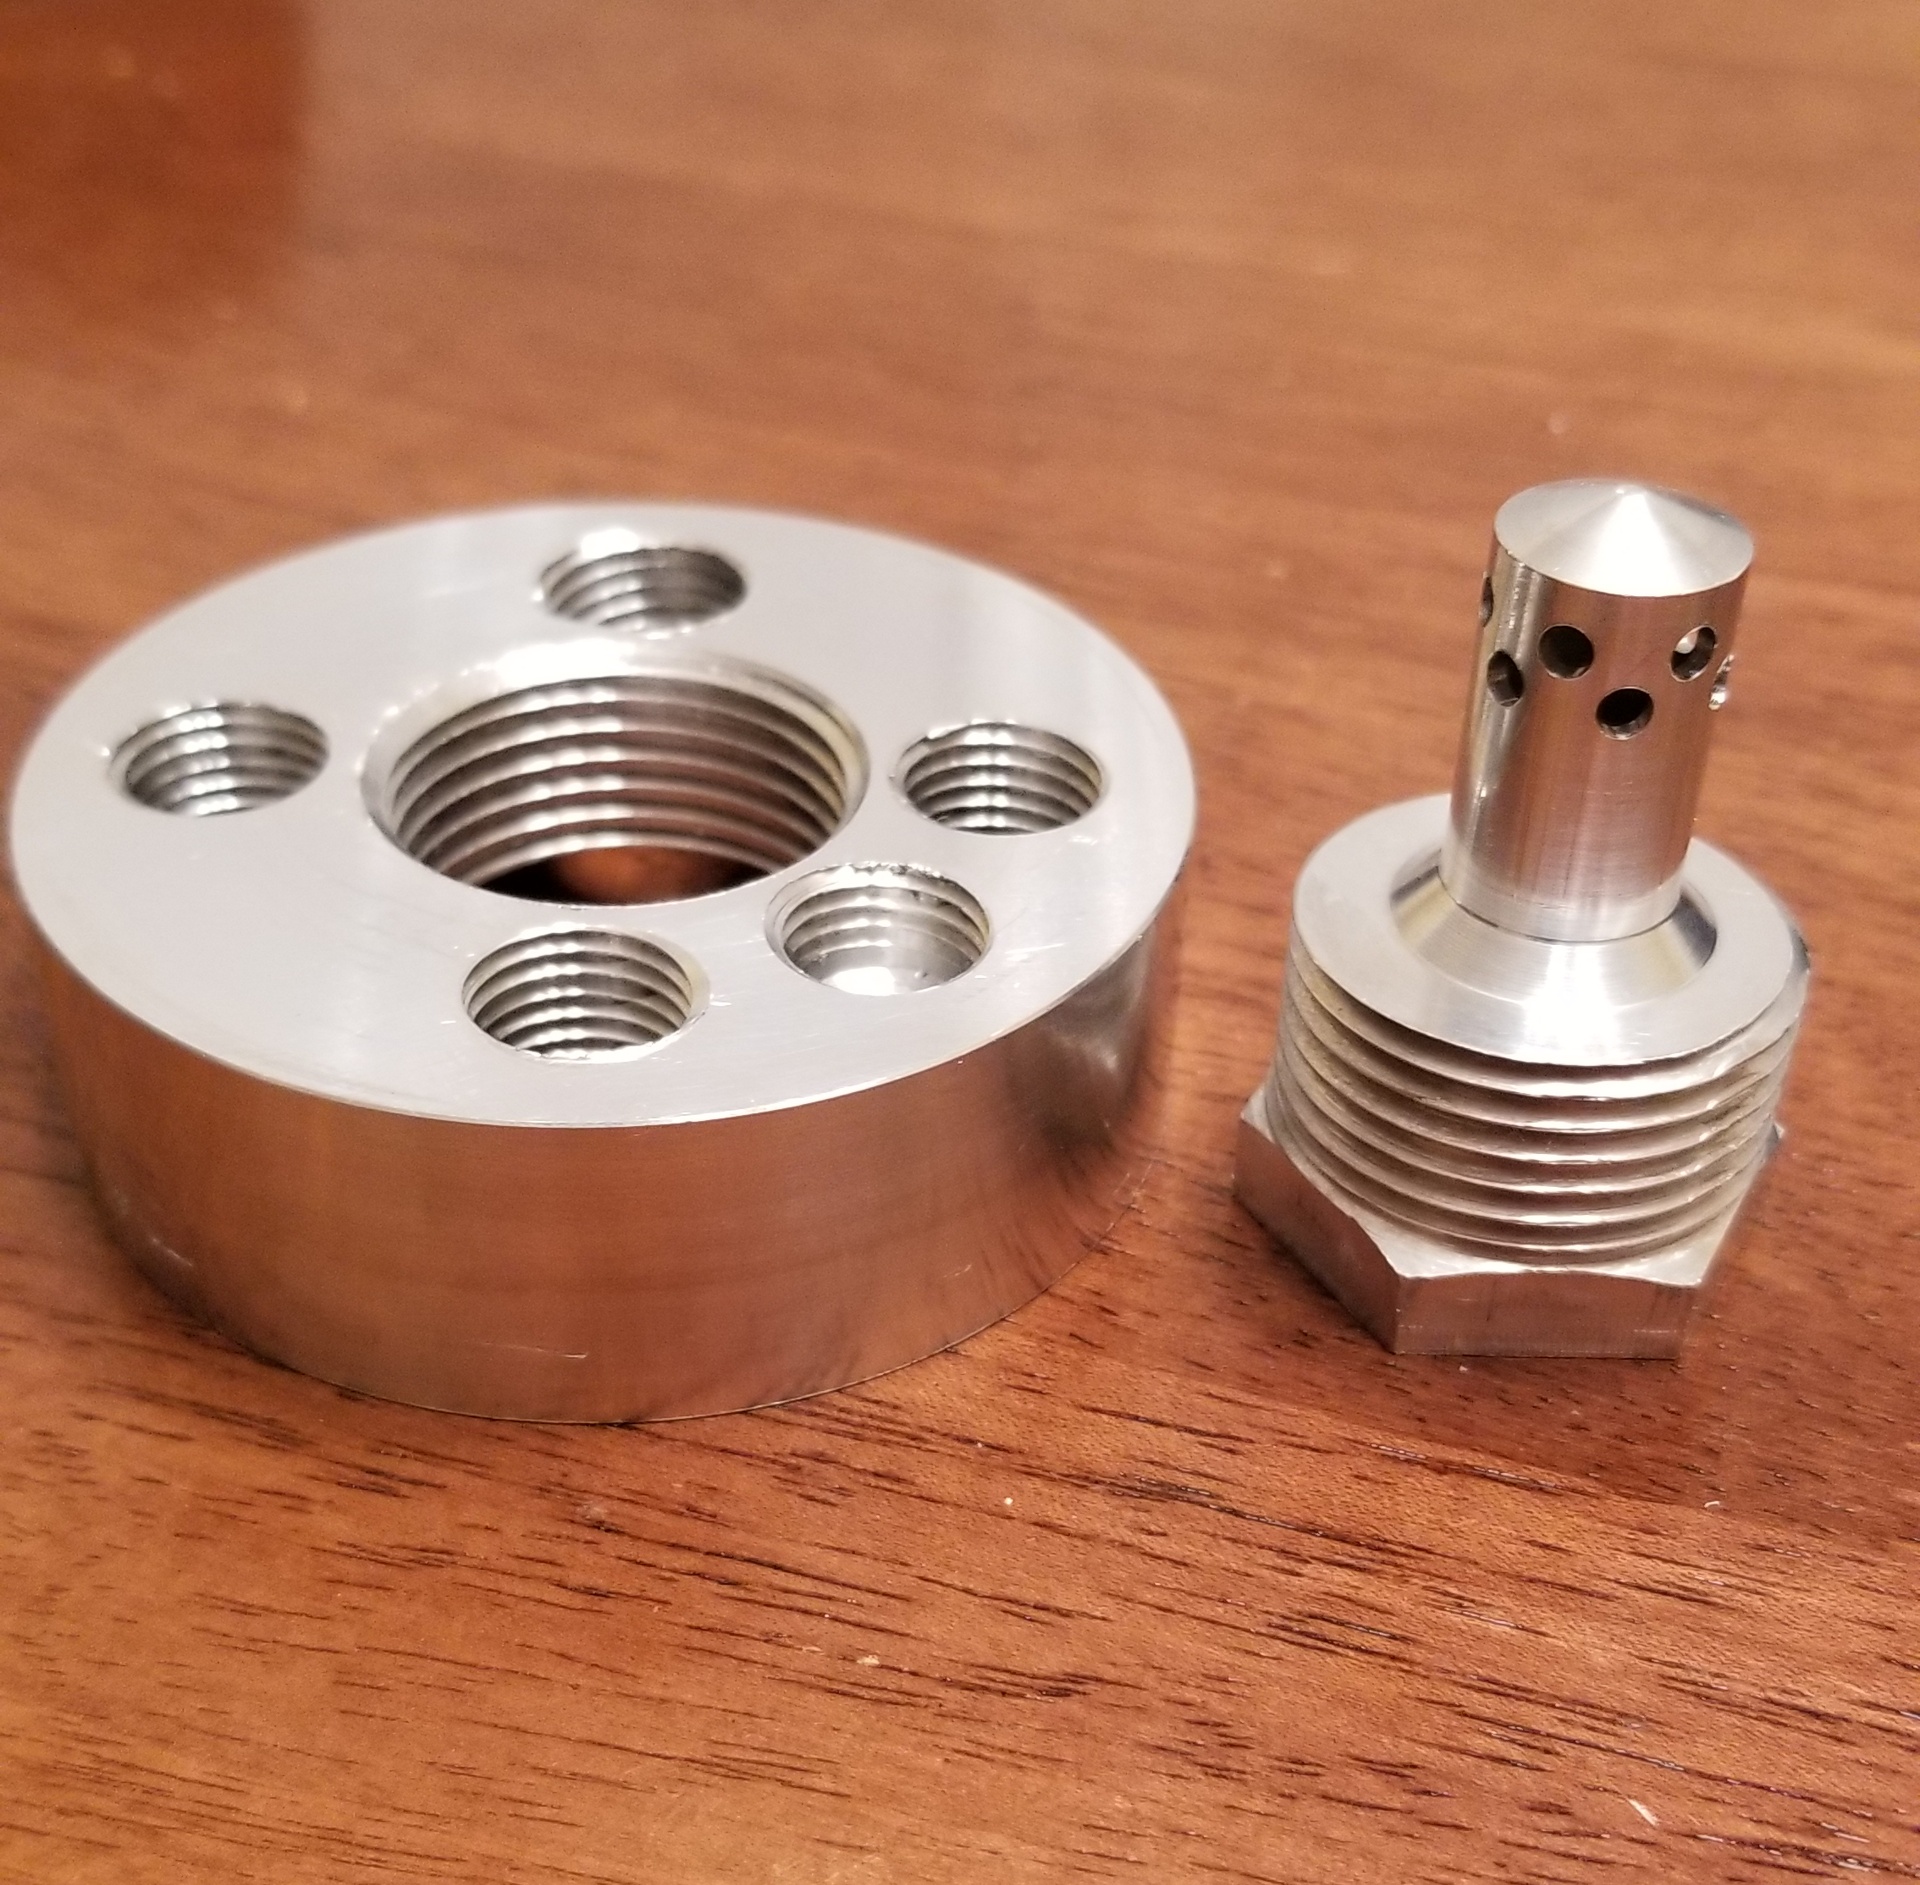
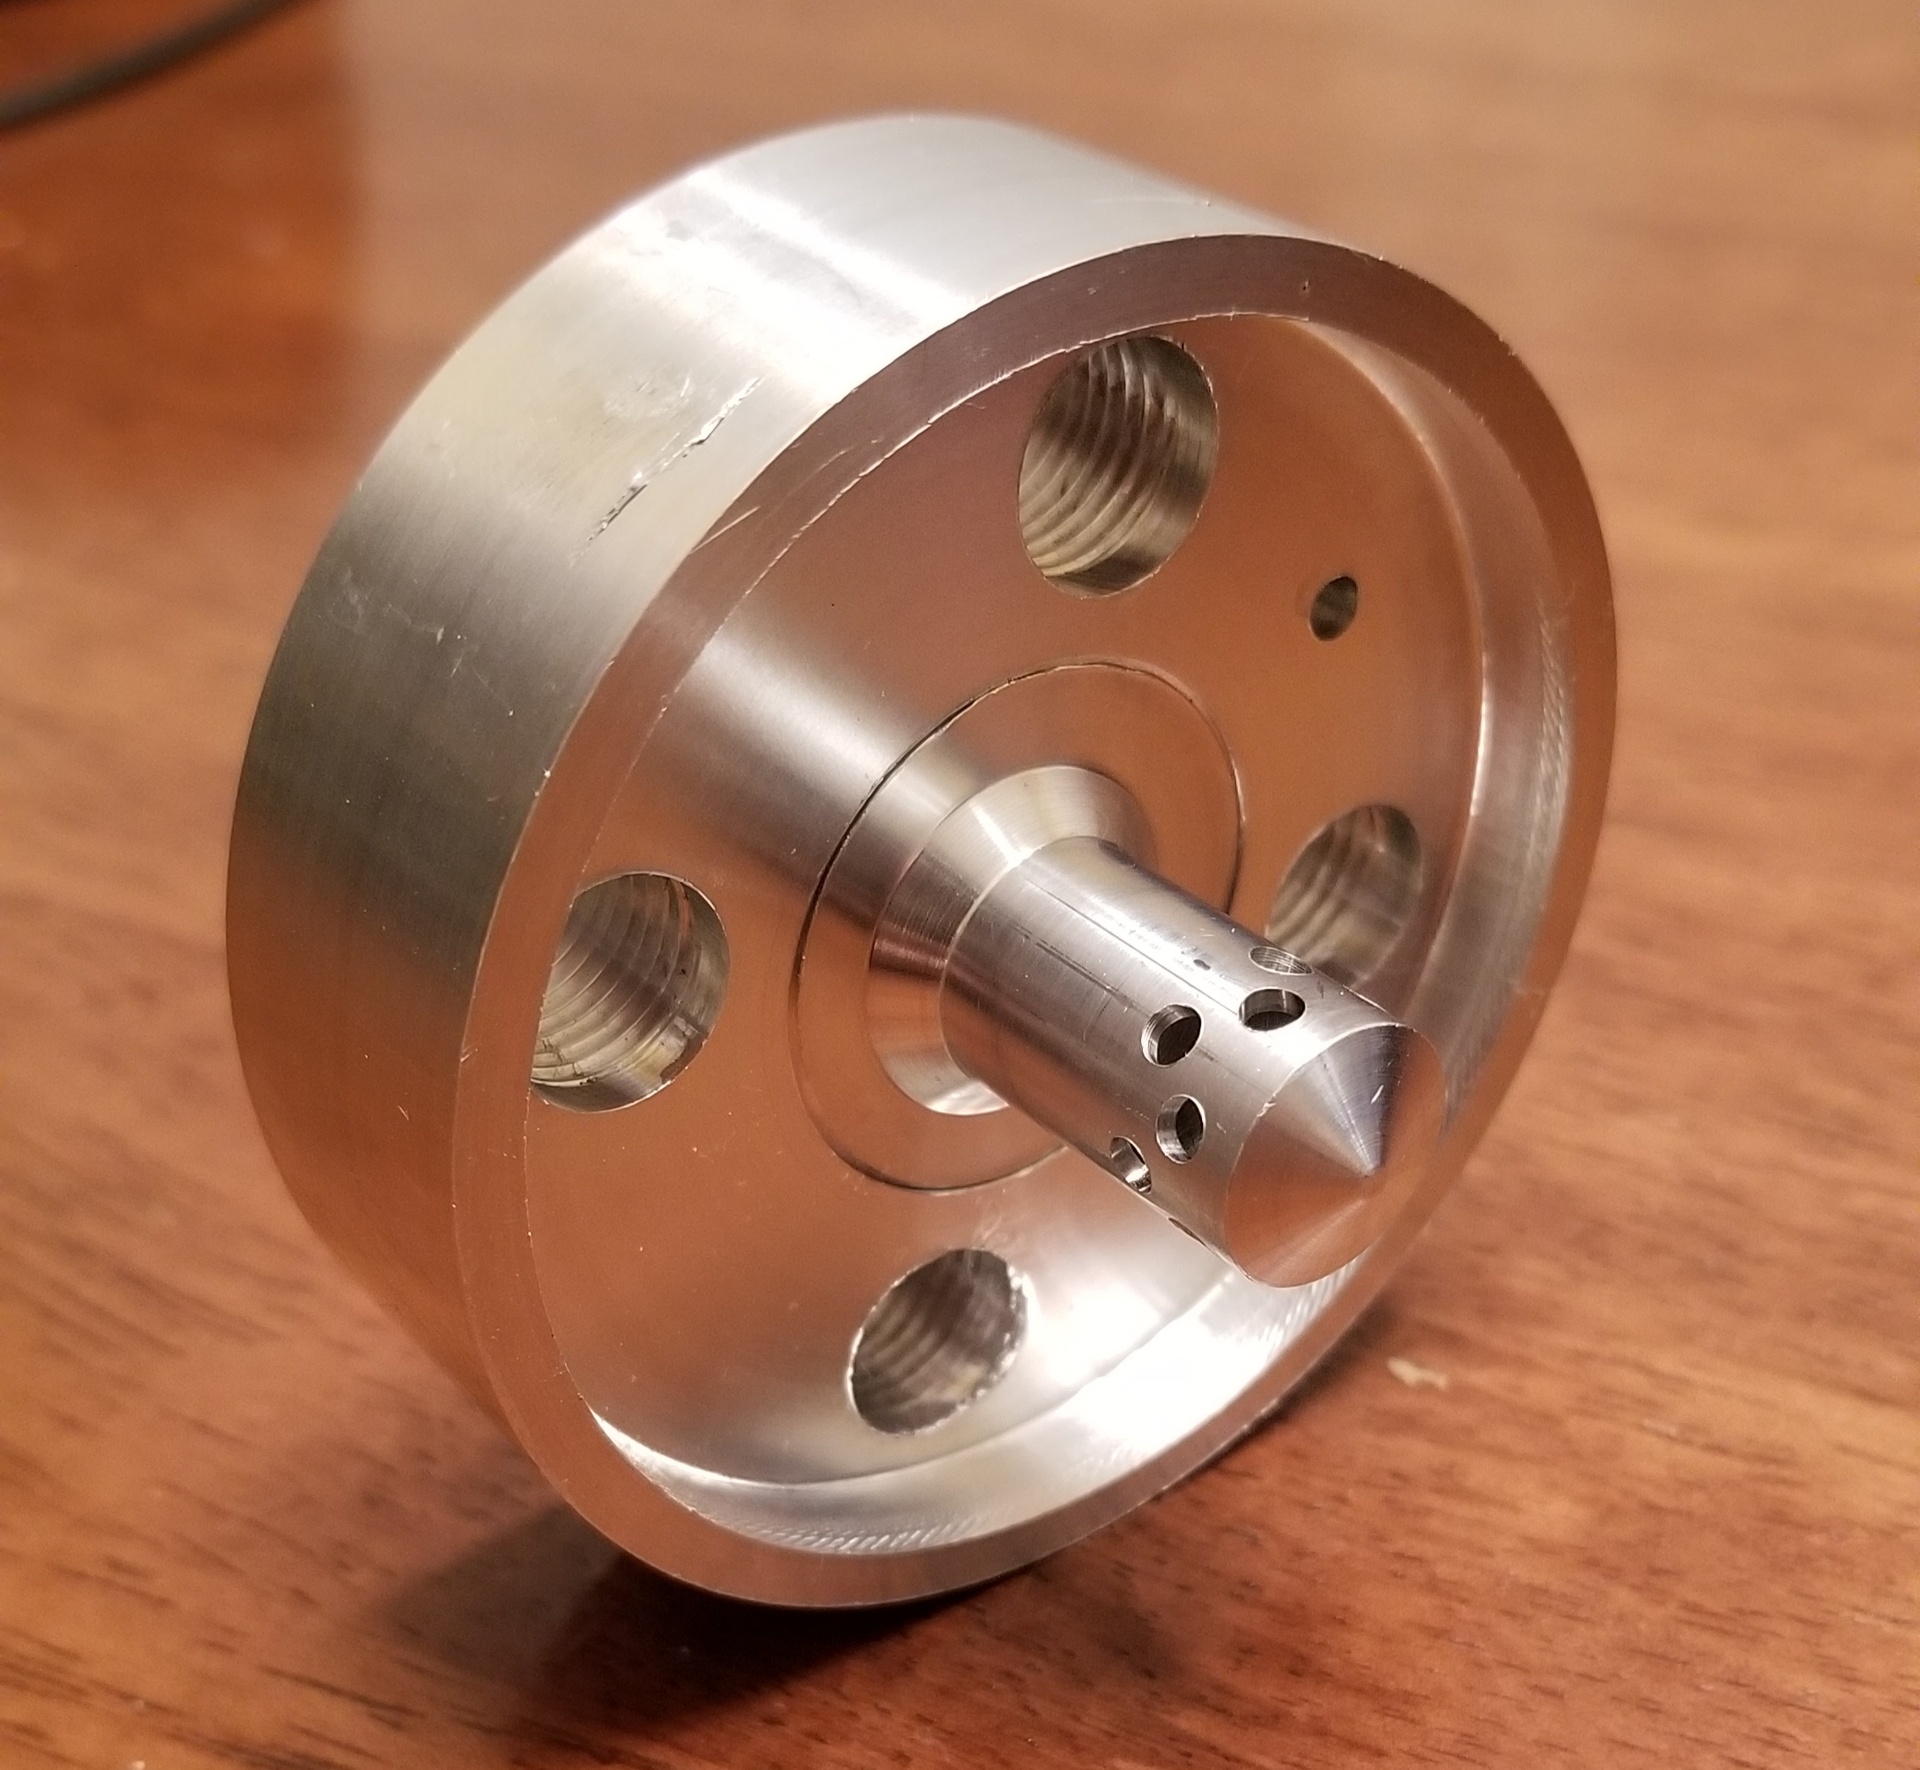
The pintle is really the star of the show. This device is easy to manufacture, and provides excellent mixing characteristics. The concept is simple: inject the fuel (in this case propane) radially from the center tube (known as the pintle). Flow the oxidizer (air) through a concentric opening traveling perpendicularly to the fuel. The two propellants collide and ideally atomize as they travel through the combustion chamber.

Because this is threaded to the body, we can swap the pintle out easily and collect performance data for each. The fuel-air throat areas can be easily altered by changing the pintle OD and injector hole diameters. The number of injector holes can also be optimized, although as they become smaller, they begin to pose a manufacturing challenge.
Conclusion

I hope to dive into some details about the rocket as it gets closer to completion. We are moving towards constructing the test stand and software to support the static fire. If the rocket can be assembled by March, I hope to have the first hot-fire test as early as April or May. As always, stay tuned and we’ll see where this goes!
Progress Update

It’s been quite some time since the last update. I am happy to say that I have made several crucial improvements to the engine in this time, and a new version release (v0.1.4 — by far the most stable) is imminent. I will briefly discuss some of the more exciting updates in this post.

Most of my latest code has been dealing with the stability of the collision sub-system. Previous versions have had a very rudimentary terrain collision detection that operates only on the landing gear. Worse still, the existing system used terrain normals which were in the wrong transformation, resulting in unpredictable corrective impulses. This usually means being randomly accelerated into the ground. Not good.

The new collision system currently uses three individual collision checks. Firstly, high velocity collisions must be checked so that objects do not phase through one another. This works by casting a ray along the velocity vector for the duration of the next time step. If this intersects with the terrain, an impulse is computed to prevent penetration.

Next, a Bullet collision mesh is tested against the terrain mesh to search for spacecraft body collisions. If any are detected, the appropriate corrections are computed. Finally, the existing landing gear spring-dampening system is used to allow the player to land and move along the ground. But this time the normals are right and you don’t get pushed into the ground.

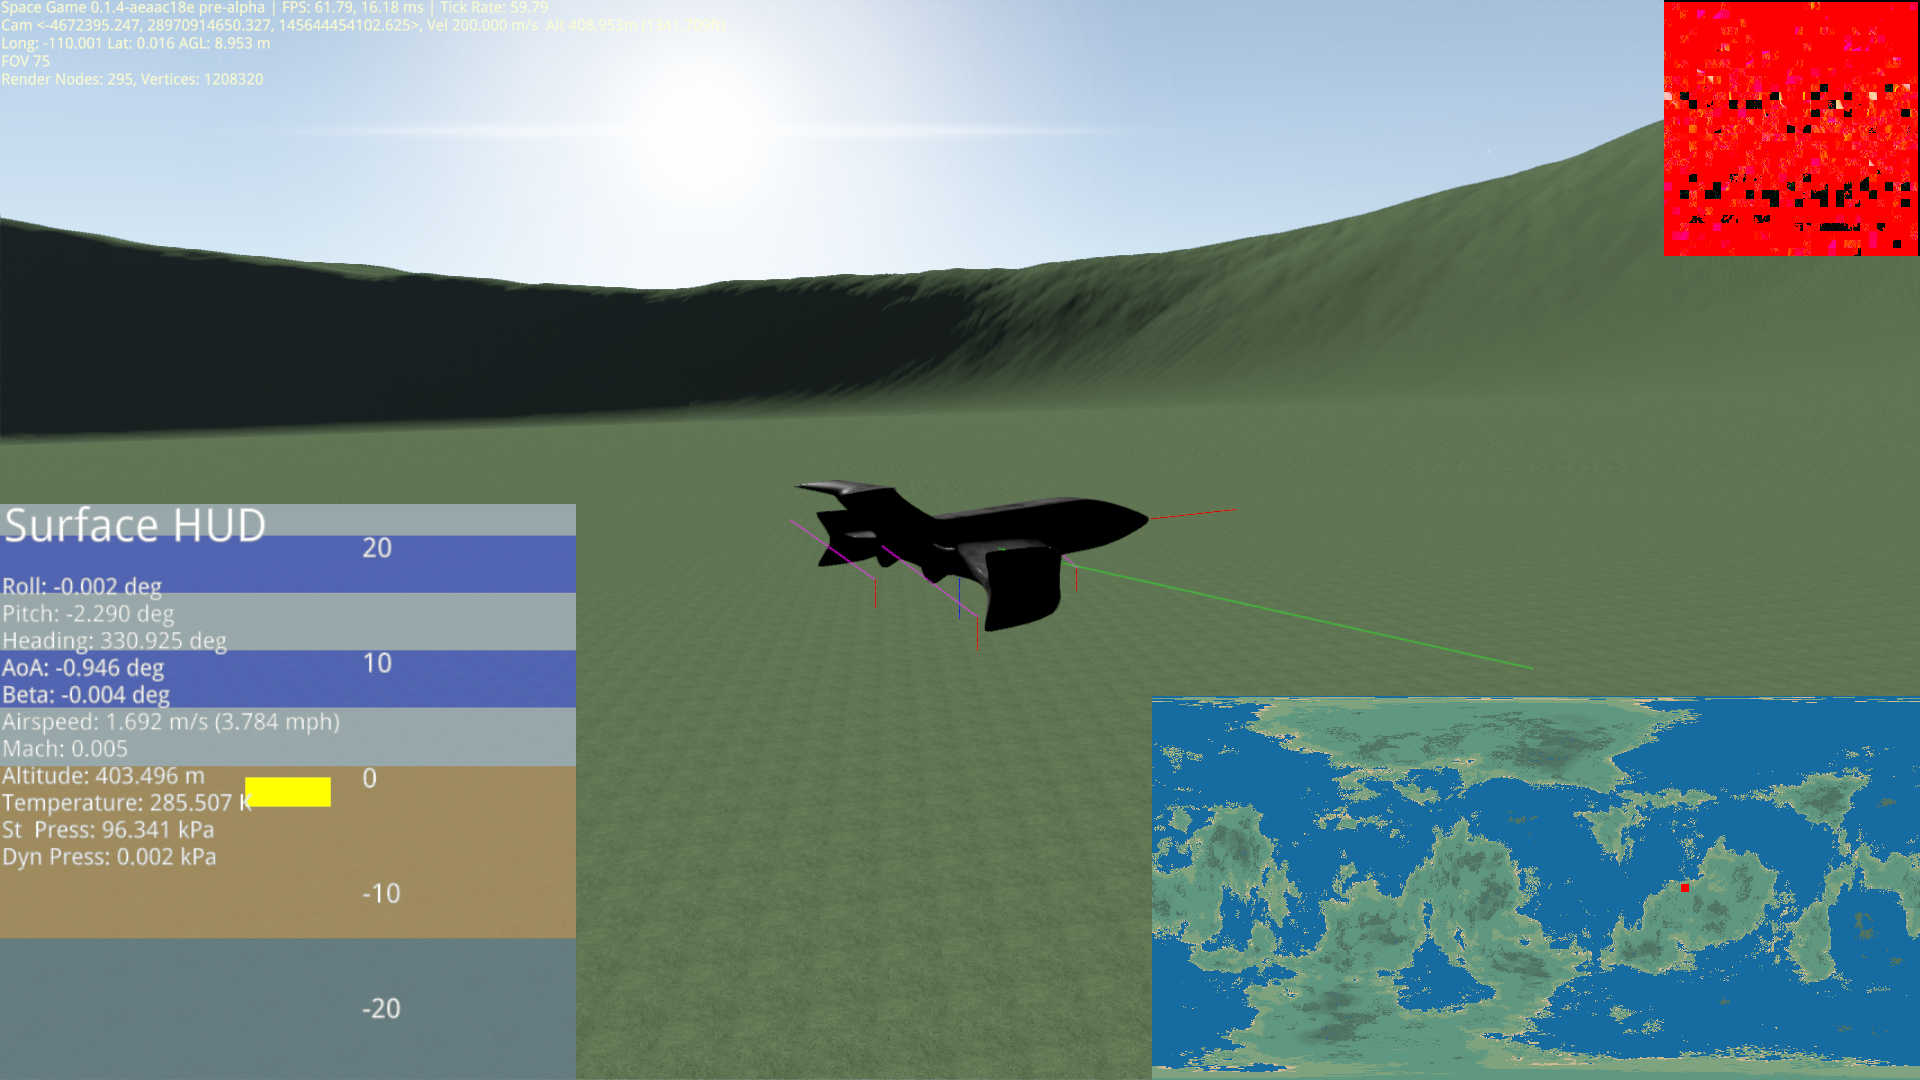
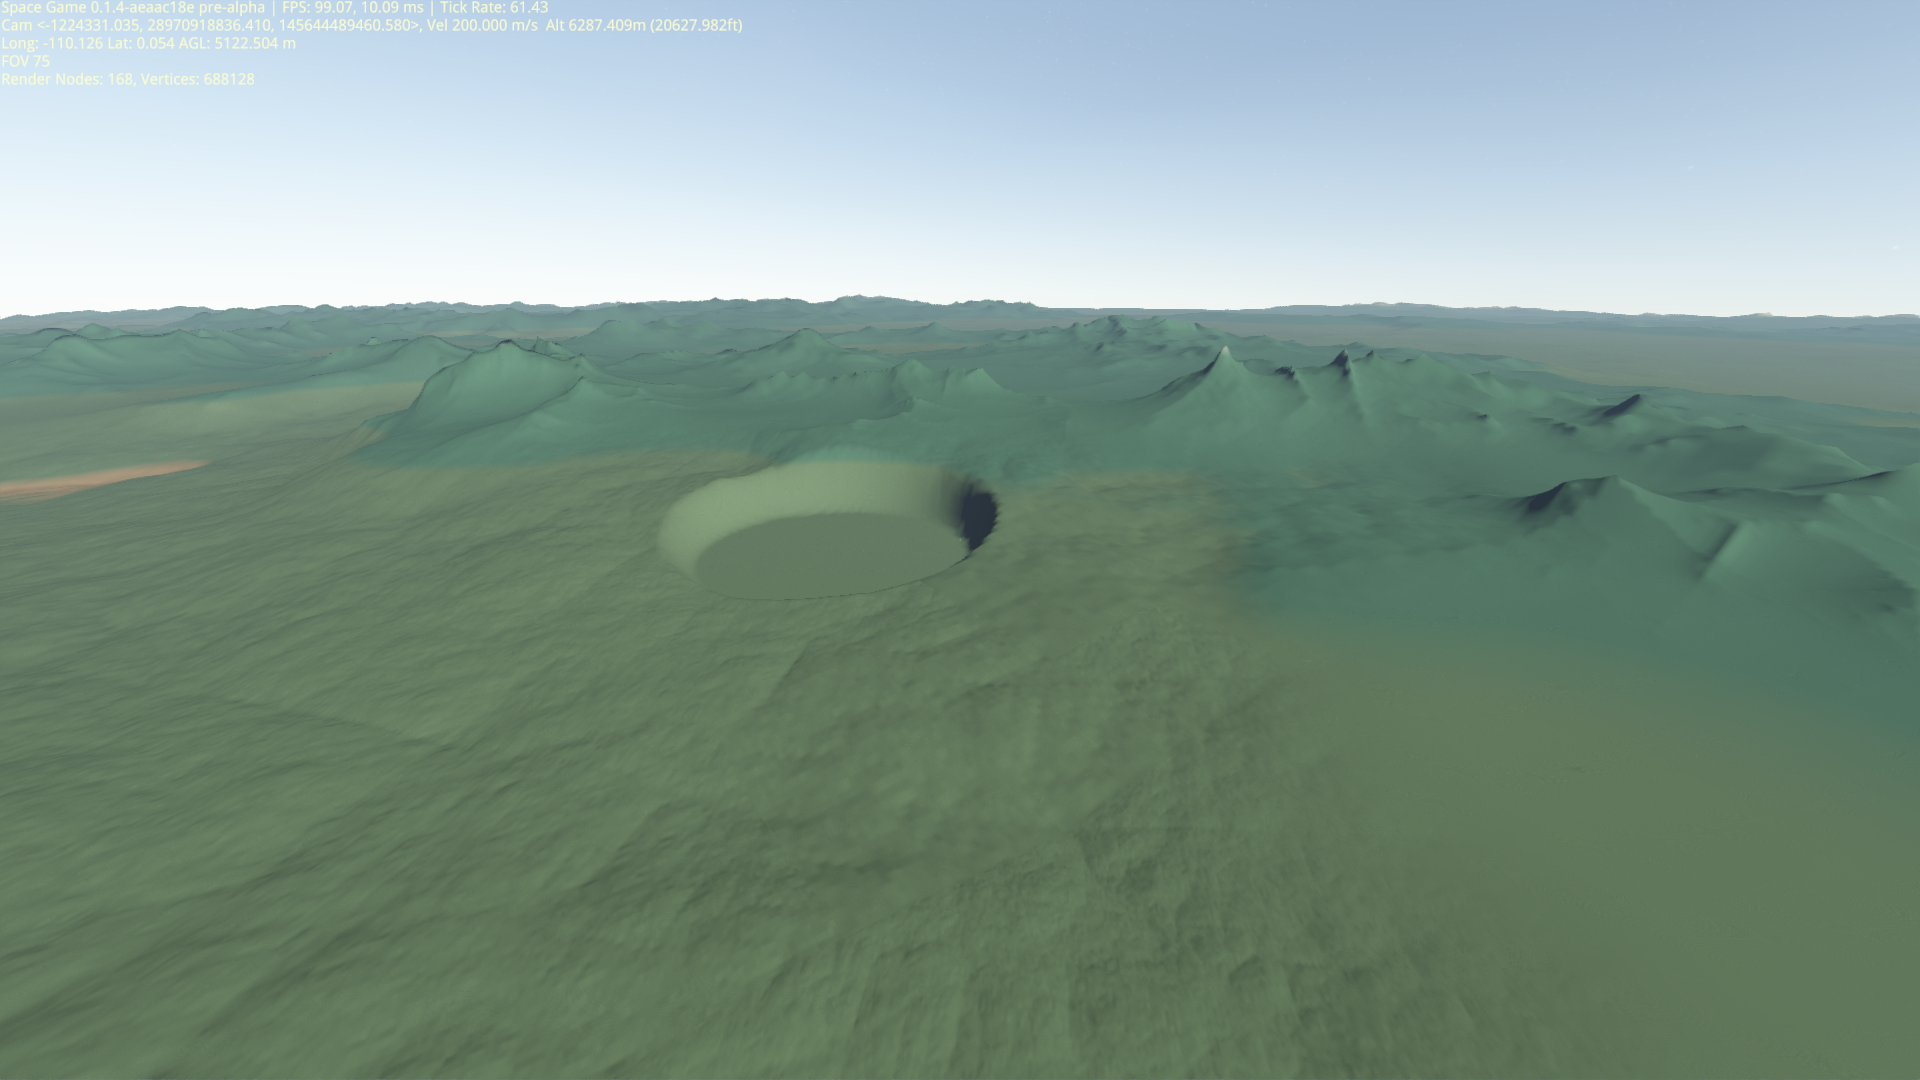
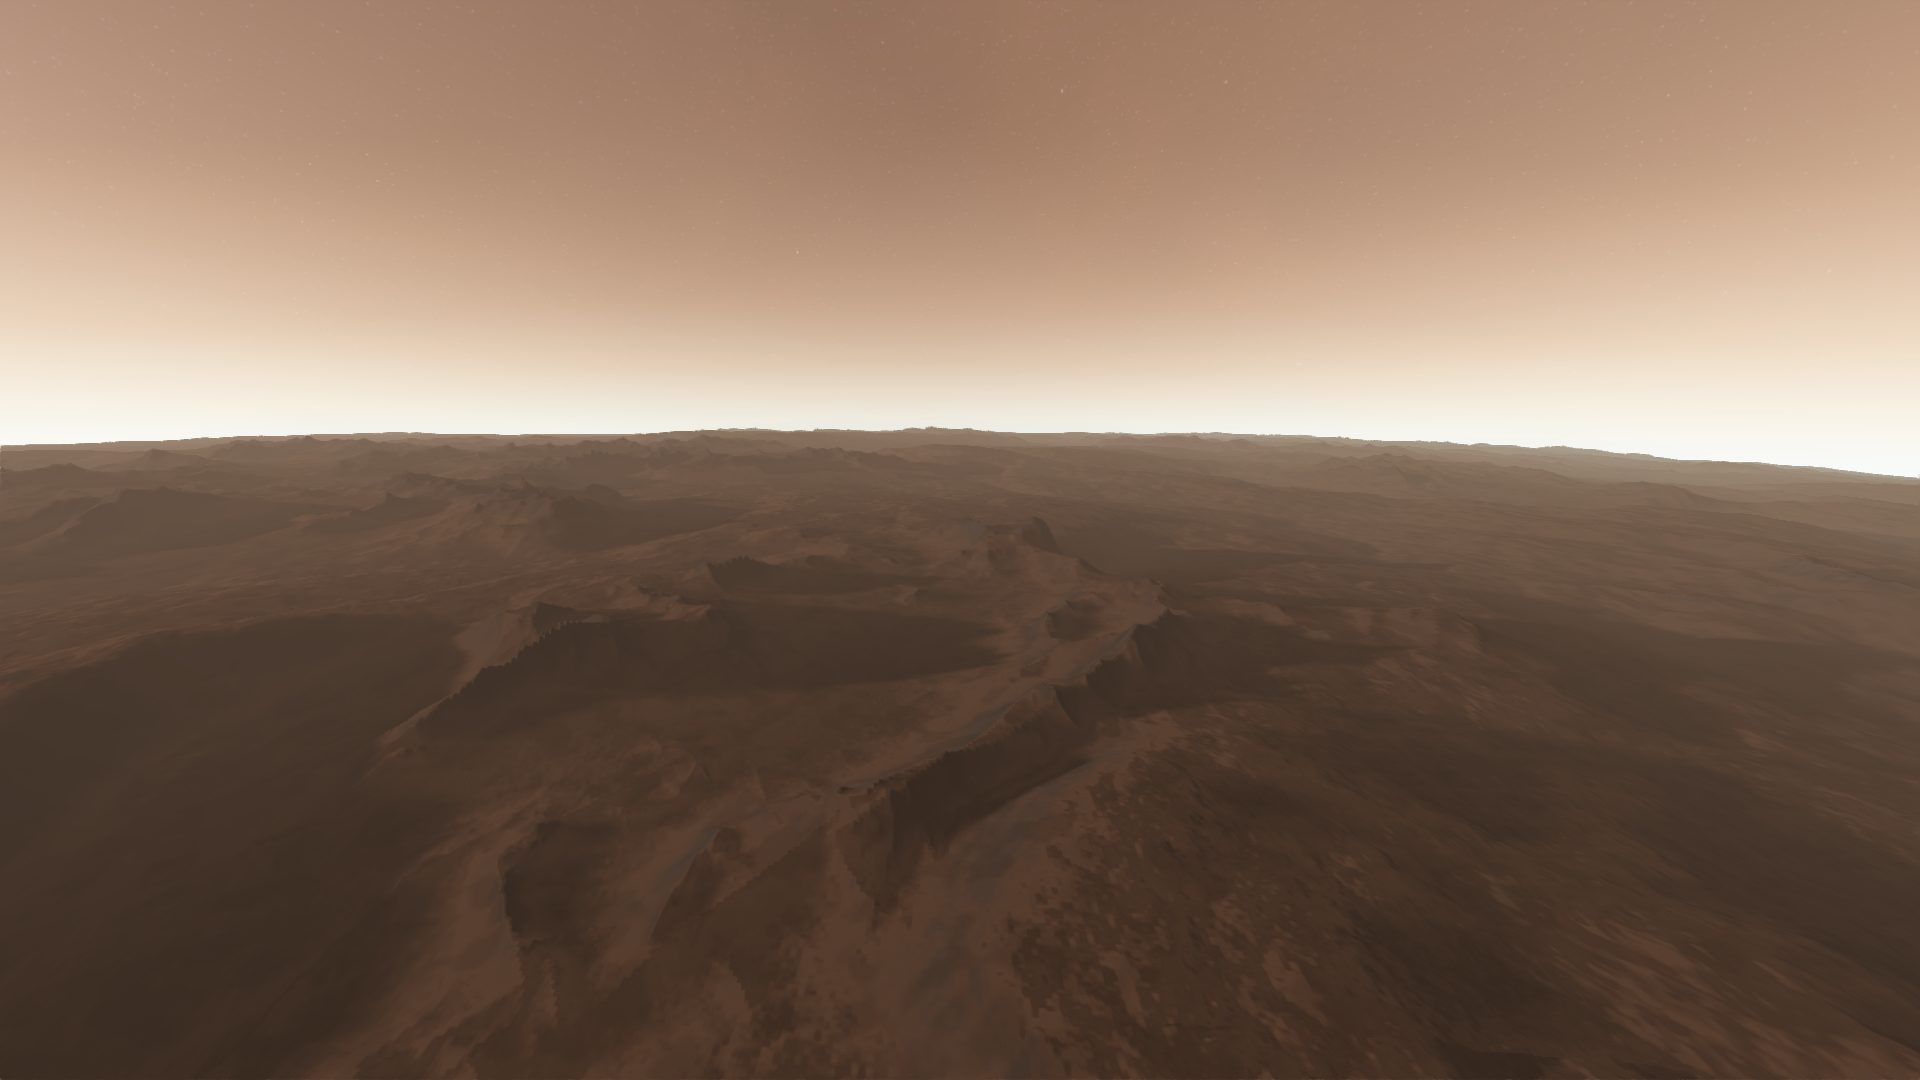
The next feature has to do with providing predictable locations on randomly generated planets. There was previously no way to ensure that a certain location on the planet would be guaranteed to have a good place to land. With the new “Bases” feature, locations with predictable terrain can be generated for any planet. In the pictures below, a crater with a bottom at 400 meters is generated to provide a landing zone in an otherwise rough location. These are the only planetary terrain features currently supported, but others are in the works.

Along with this, I have begun working on a “decal” sub-system. This will provide ground textures for landing strips and roads that will be important in future releases of the game. These can be applied to arbitrary terrain, but will frequently be coupled with Base locations.

There have also been many bug fixes along the way that fix all aspects of the simulation. There are still some quirks to the engine, but I hope you will find that the latest version is an order of magnitude more stable than previous releases. But as always, please report any bugs at the BitBucket issues link.

As critical bugs are resolved one by one, progress seems to be picking up again. Although I won’t make any promises, I anticipate launching v0.1.4 within the next few weeks. I think that v0.2.0 will follow soon after that since I believe many of the latest features are worthy of a minor version increment. Stay tuned!

Space Game v0.1.3 Released!

A new version of Space Game is now available for download! This is not a major update, but it includes many performance fixes and gameplay improvements over the previous versions. The main performance update corrects the sphere vertex distribution (as explained in Cube-to-Sphere Projection) for a consistent and uniform frame rate. The bounding box algorithm now uses Oriented Bounding Boxes (OBB) to reduce selection in planet “corners.”

Shadow mapping is off by default in this release. Since this feature is still experimental and has a big performance impact, I think it is better at this point to have the player manually enable it. To enable shadow mapping, open config.ini and append the following lines:

[Graphics]
shadow_mapping = 1

Known Limitations:

The new frustum-OBB culling algorithms are not yet perfected. There are cases where terrain will not render though it is visible on-screen. I am currently looking into a fix for this issue.

Cube-to-Sphere Projection

As the release of Space Game v0.1.3 approaches, I thought I would discuss one of the more challenging obstacles that was blocking its release. I first noticed something was wrong when traveling to certain “corners” of the demo planet in the game. Performance would drop, and the simulation would attempt to request and render thousands of terrain nodes. Towards the spawn region — and most of the rest of the planet — I never noticed this performance hit. For a while, this seemed like a minor issue and I just left it on the backburner. Well, it turns out that the issue was a bit more sinister.

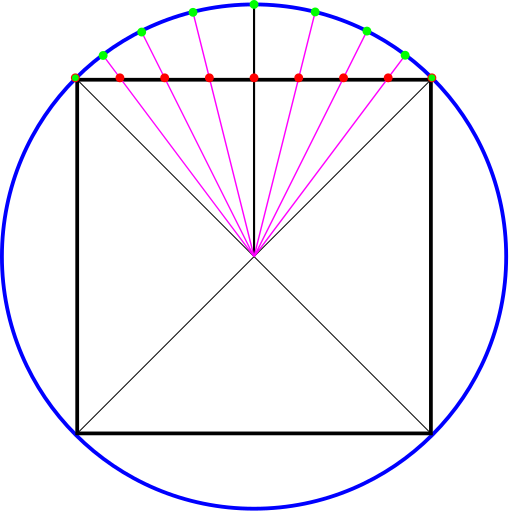
To give some background, the planet renderer originally used the naïve cube-to-sphere projection of simply normalizing the quadtree cube coordinates and scaling to the planet radius. This method can be seen in the image below. The red dots indicate vertices placed at equal intervals on the cube’s surface. These vertices are then “pushed” along their normals relative to the center point until they reach the sphere surface (marked with green dots). Notice the green dots are no longer at equal intervals on the sphere surface. This introduces a distortion with more vertex density towards the face edges.

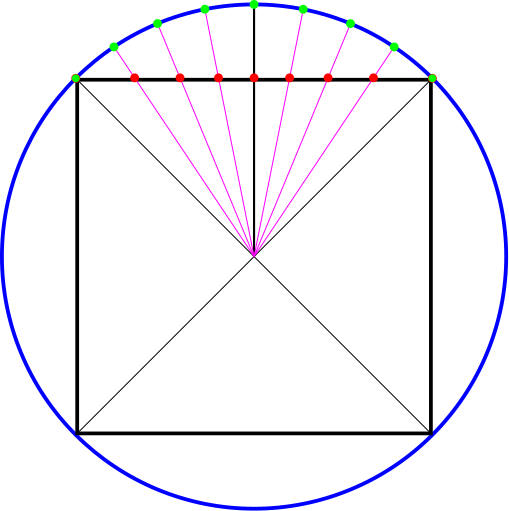
In the terrain renderer, each pair of dots constitutes a renderable tile. This means that as the player approaches the edges of the former cube faces, more terrain tiles would be required and performance would drop. To solve this, I implemented a projection scheme that would warp the position of the cube face coordinates such that when they were projected, they would create (nearly) equal area regions on the sphere surface. Terrain tile density would remain mostly constant and gameplay should stay smooth. The desired projection is shown below.

The cube face coordinates (red) are now warped towards the center of the face such that after the sphere projection they are at equal area intervals (green). As it turns out, this is a projection that is easy to compute an exact solution for in 2D, but difficult in 3D. My goal was to find a projection that minimized computation, but also provided an equal area solution to an acceptable margin of error.

After some research, I found a paper that went over several options for cube-to-sphere projection. The approach outlined in the paper that I found most desirable is the Odd Polynomial Univariate method. It had minimal area error, but was also very fast to compute. The method forms a 5th order polynomial with 3 coefficients that are optimized to minimize distortion.

    \[ K_1 x + K_2 x^3 + K_3 x^5 + \ldots \]

This method further reduces the error beyond the similar tangent function, and it is a simple computation. So with this equation in place, I thought I had a sphere with nearly equal area distribution. I start up the game, head to a planet corner and… performance dropped to a slow crawl! After investigating for a few days, I found that the warping scheme was applied on my UV coordinates which were in the range [0, 1]. This caused the projection to push vertices into the (0, 0) corner of each face, resulting in extreme terrain tile counts in this region. After remapping the UVs to a [-1, 1] range, my performance was as I had predicted.

This was another one of those issues that seems simple in hindsight, but the processing of discovering the problem and tracing back its cause can be exceedingly difficult. The resulting mapping is now fairly uniform and has good performance all over the planet. Now that I’m done wasting time fiddling with renderer basics, I’m hoping I can get Space Game v0.1.3 out soon!

Space Game v0.1.1 Released!

I am excited to announce the first public demo release of the Space Game engine! The goal of this demo is predominantly to start testing the game on a wide variety of hardware. There are many quirks to the GPU-side double-emulation code that have been exposed on new hardware in the past. It is better to eliminate these issues now while the code base is relatively small, than to discover them later when many more lines have been written based on the current assumptions.

There are a few new features relative to the previous update. I had mentioned adding HDR and exposure support. Well, I jumped the gun and implemented a basic system without eye adaptation. The atmosphere and sun are now at more realistic brightness levels relative to the rest of the scene, although this will still require some tweaking in future updates. The output is also now gamma-corrected for completeness.

The Space Game engine still has a long way to go, and has plenty of yet undiscovered bugs. But this first release is a big milestone in its development. I hope you enjoy experimenting with it! Please feel free to share any ideas, and don’t get too upset at the many deficiencies at this point.

Skybox Update

I have been holding off on this one for quite some time. The graphics, especially in space scenes, have always seemed to be devoid of…. soul. There were only two visible bodies: the star and the main planet. Not a star to be seen in the sky!

I have held off on adding a background for a few reasons. Firstly, it’s not totally unrealistic to have the background empty when viewing very bright objects in the foreground. Just like how there were no stars in the background in the moon landing images, there should not be visible stars in these scenes. However, it turns out that the blackness of space is very unwelcoming. The game feels friendlier when you can see some stars.

Now with 100% more dust!

Second, the game will ultimately support a whole universe of stars, galaxies, and nebulaes that the player will be able to visit. Once this feature is in place, the background will be the true sky around the player rather than a skybox. Any star in view would be a potential destination for the player. But, this feature is some ways off. So in the meantime, I have decided to breathe some life into the game with a static skybox.

Atmospheric scattering and color blending.

In the future, I hope to add an “eye exposure” that may help replicate your eye adjusting to the light level. This will help strike a balance with realism without making the universe seem boring. Stay tuned for developments with this feature.